Frontend Workflow
Now that we have our frontend deployed and configured, let’s go over what our development workflow will look like.
Working in a Dev Branch
A good practise is to create a branch when we are working on something new.
 Run the following in the root of your project.
$ git checkout -b "new-feature"
This creates a new branch for us called new-feature.
Let’s make a faulty commit just so we can go over the process of rolling back as well.
Replace the renderLander method in src/containers/Home.js with the following.
renderLander() {
return (
<div className="lander">
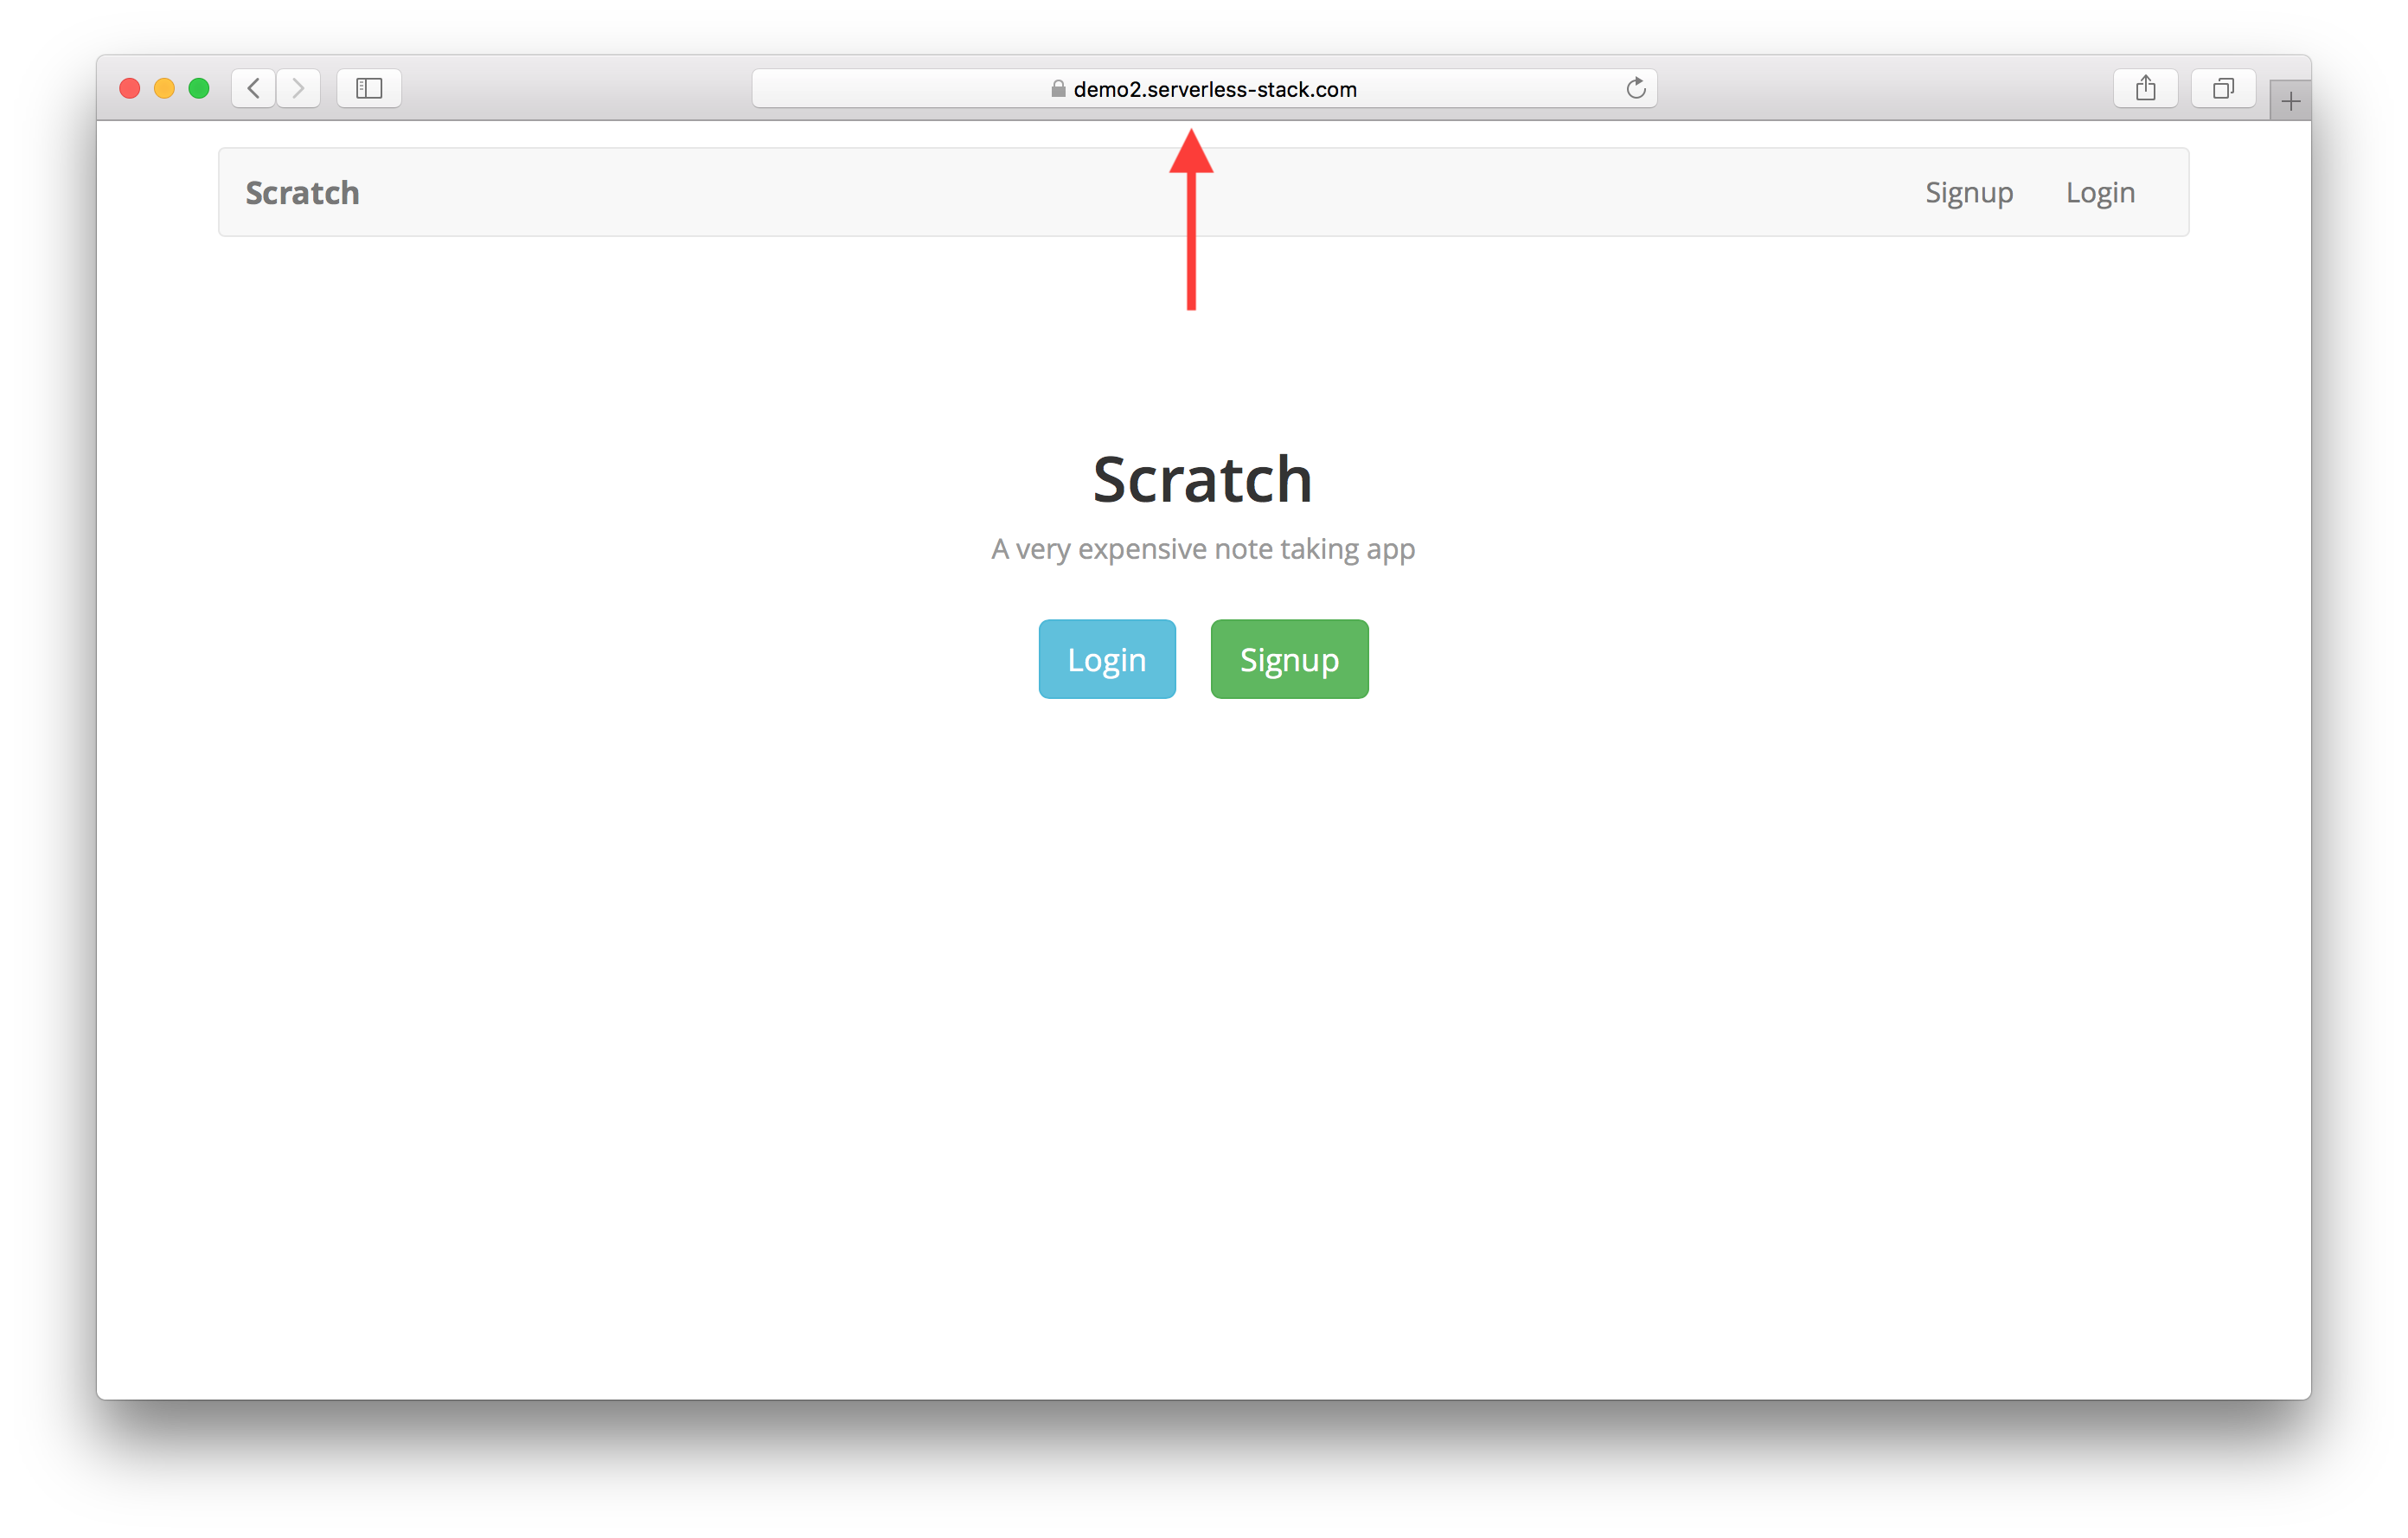
<h1>Scratch</h1>
<p>A very expensive note taking app</p>
<div>
<Link to="/login" className="btn btn-info btn-lg">
Login
</Link>
<Link to="/signup" className="btn btn-success btn-lg">
Signup
</Link>
</div>
</div>
);
}
And commit this change to Git.
$ git add .
$ git commit -m "Committing a typo"
Create a Branch Deployment
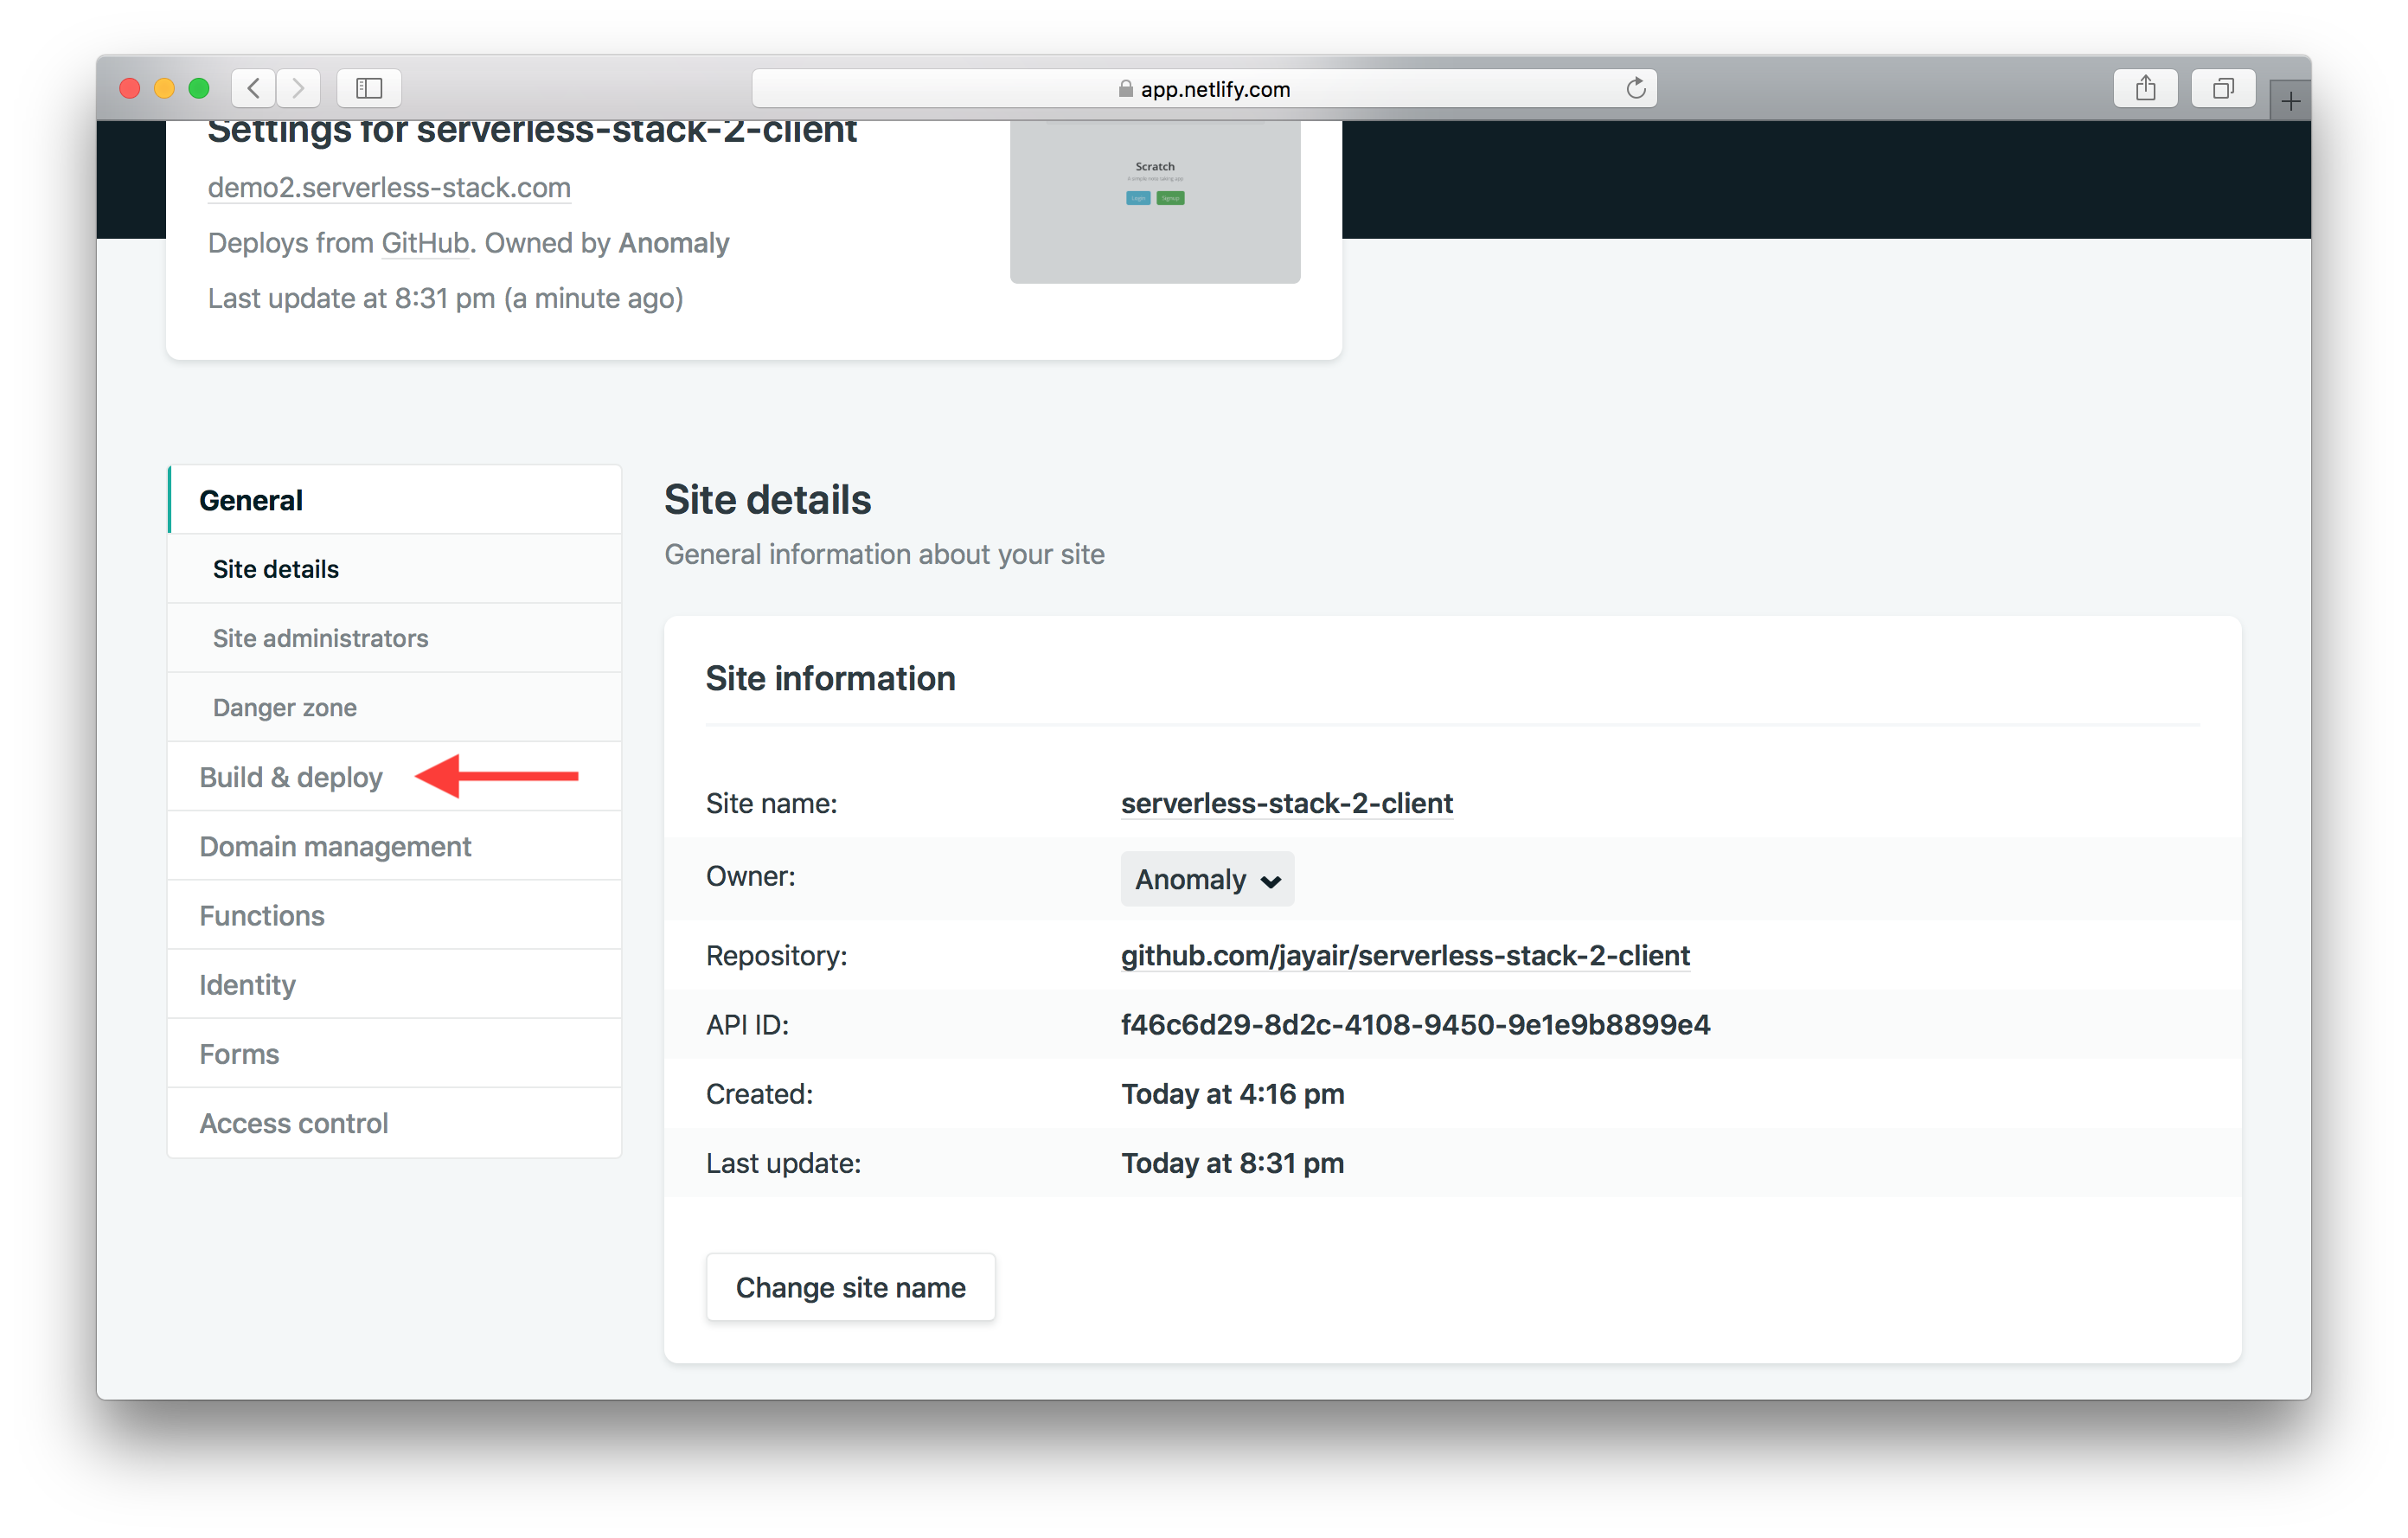
To be able to preview this change in its own environment we need to turn on branch deployments in Netlify. From the Site settings sidebar select Build & deploy.
And hit Edit settings.
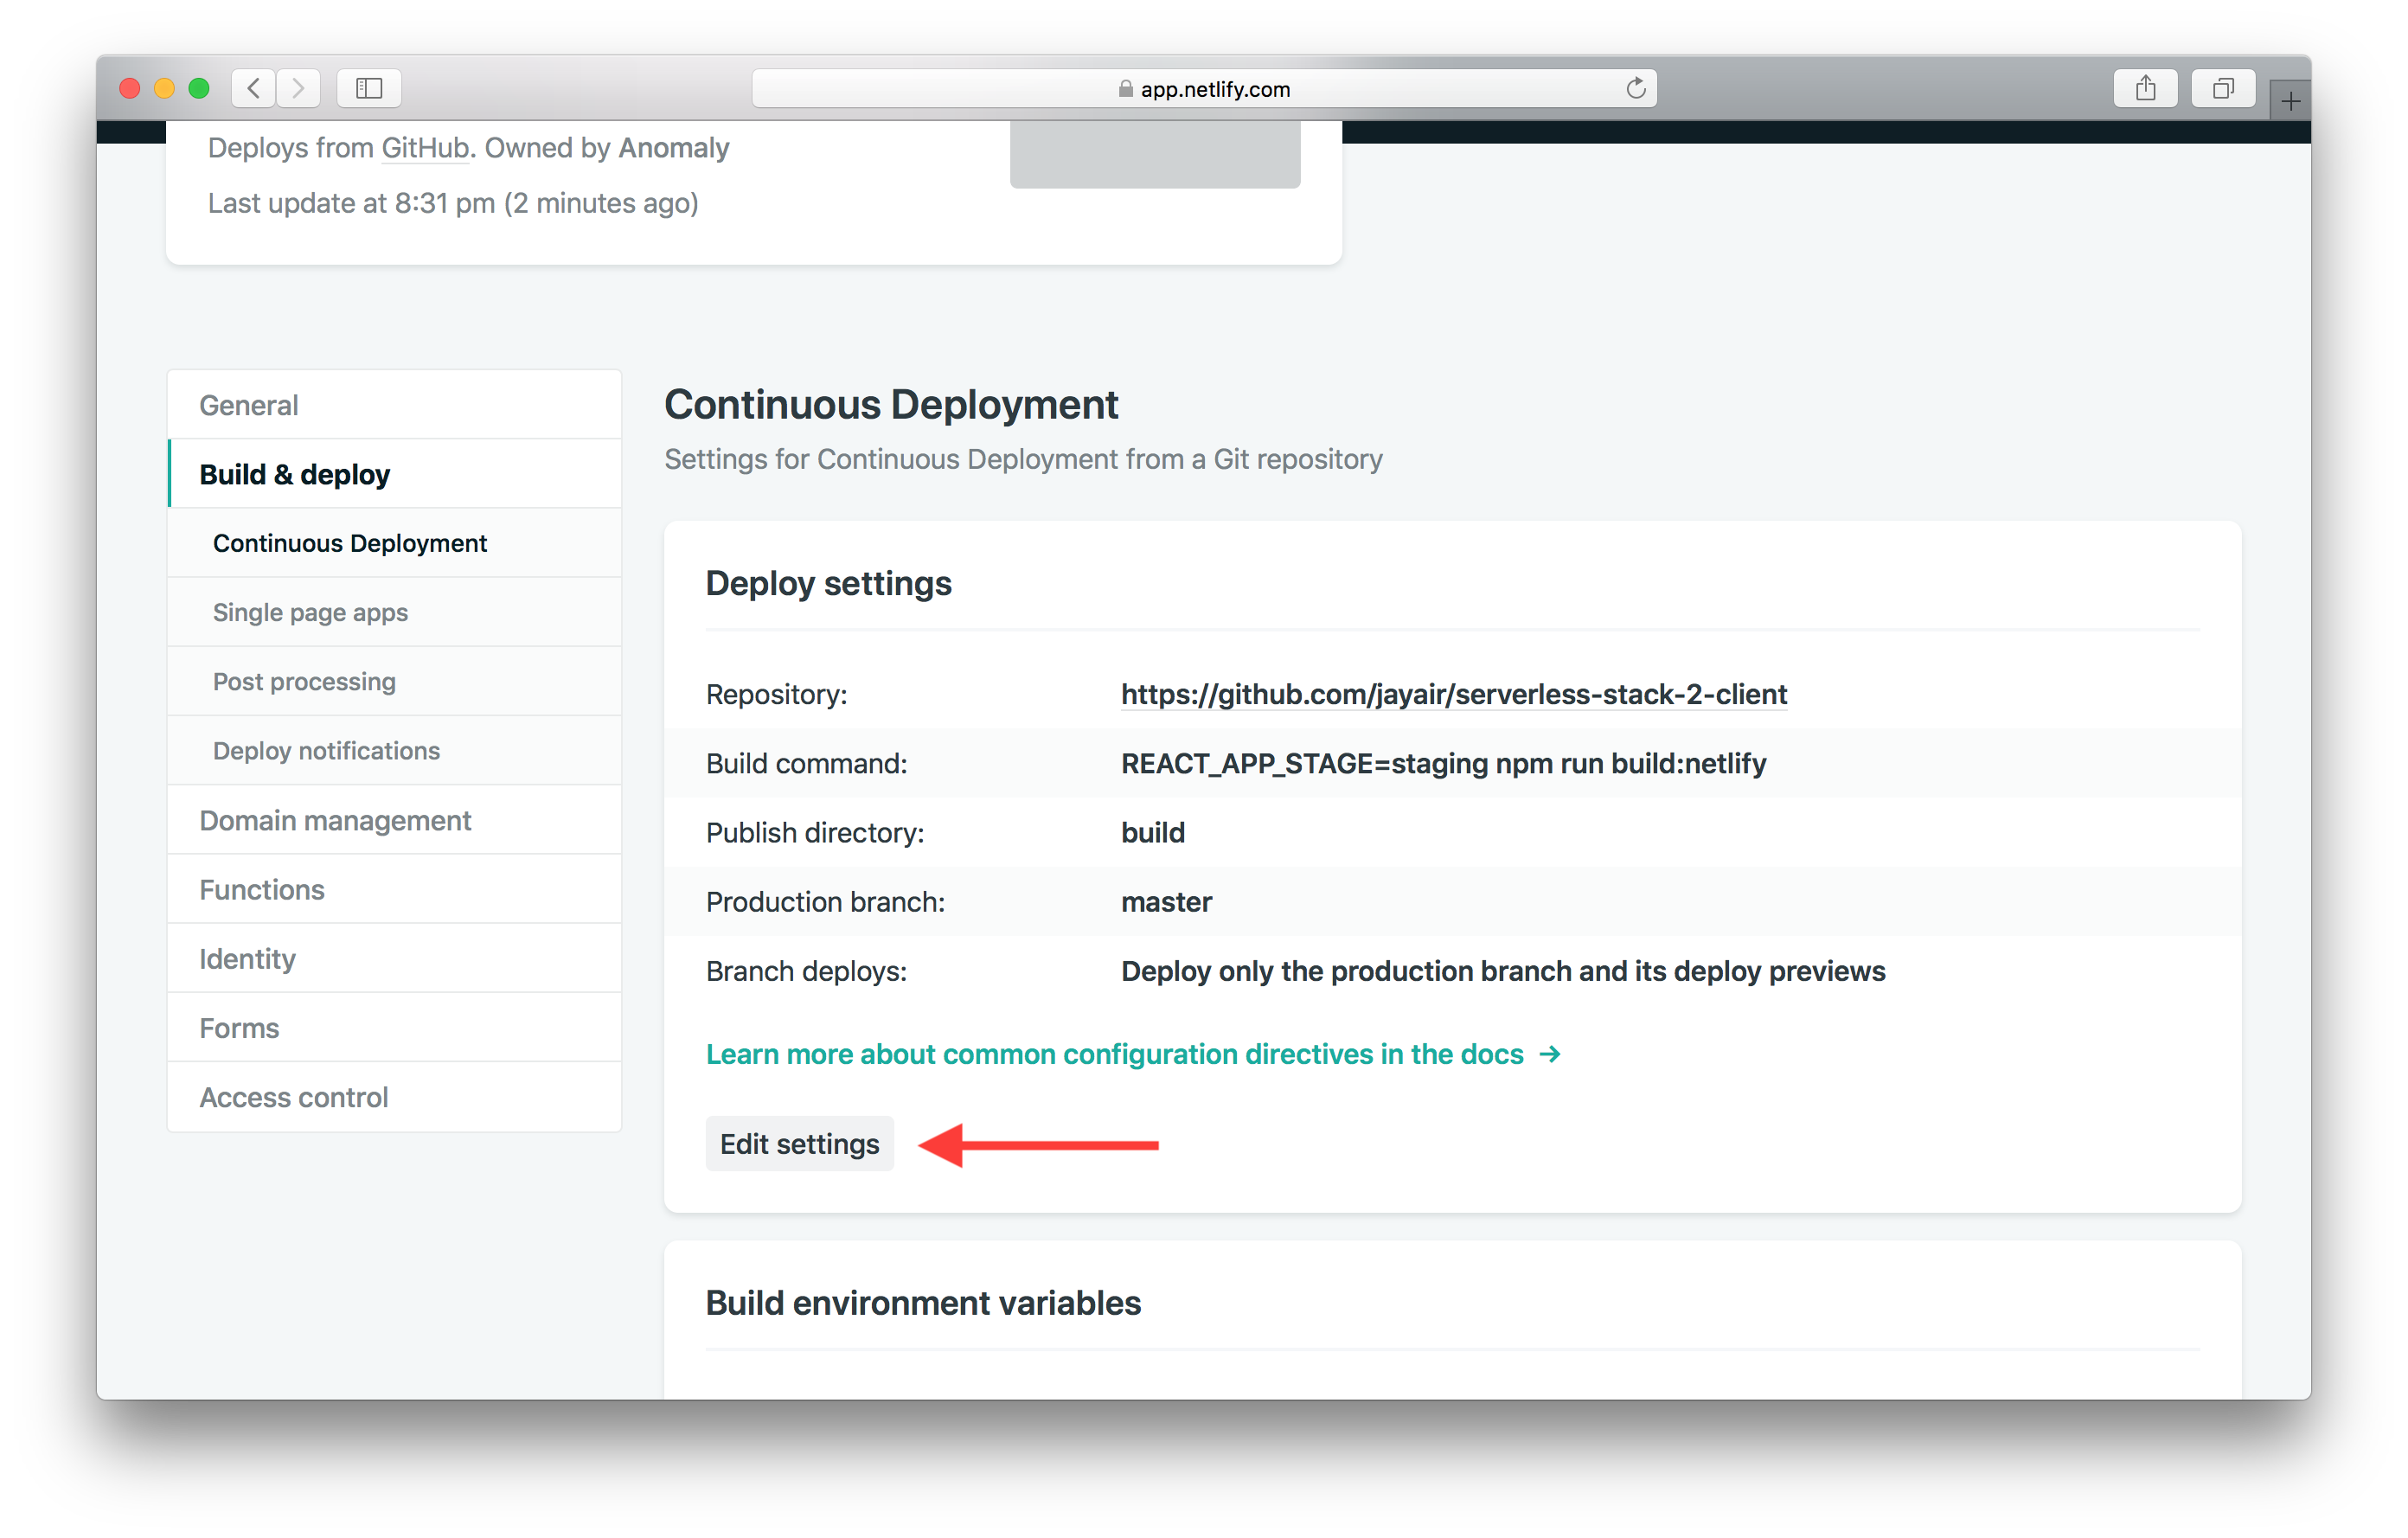
Set Branch deploys to All and hit Save.

Now comes the fun part, we can deploy this to dev so we can test it right away. All we need to do is push it to Git.
$ git push -u origin new-feature
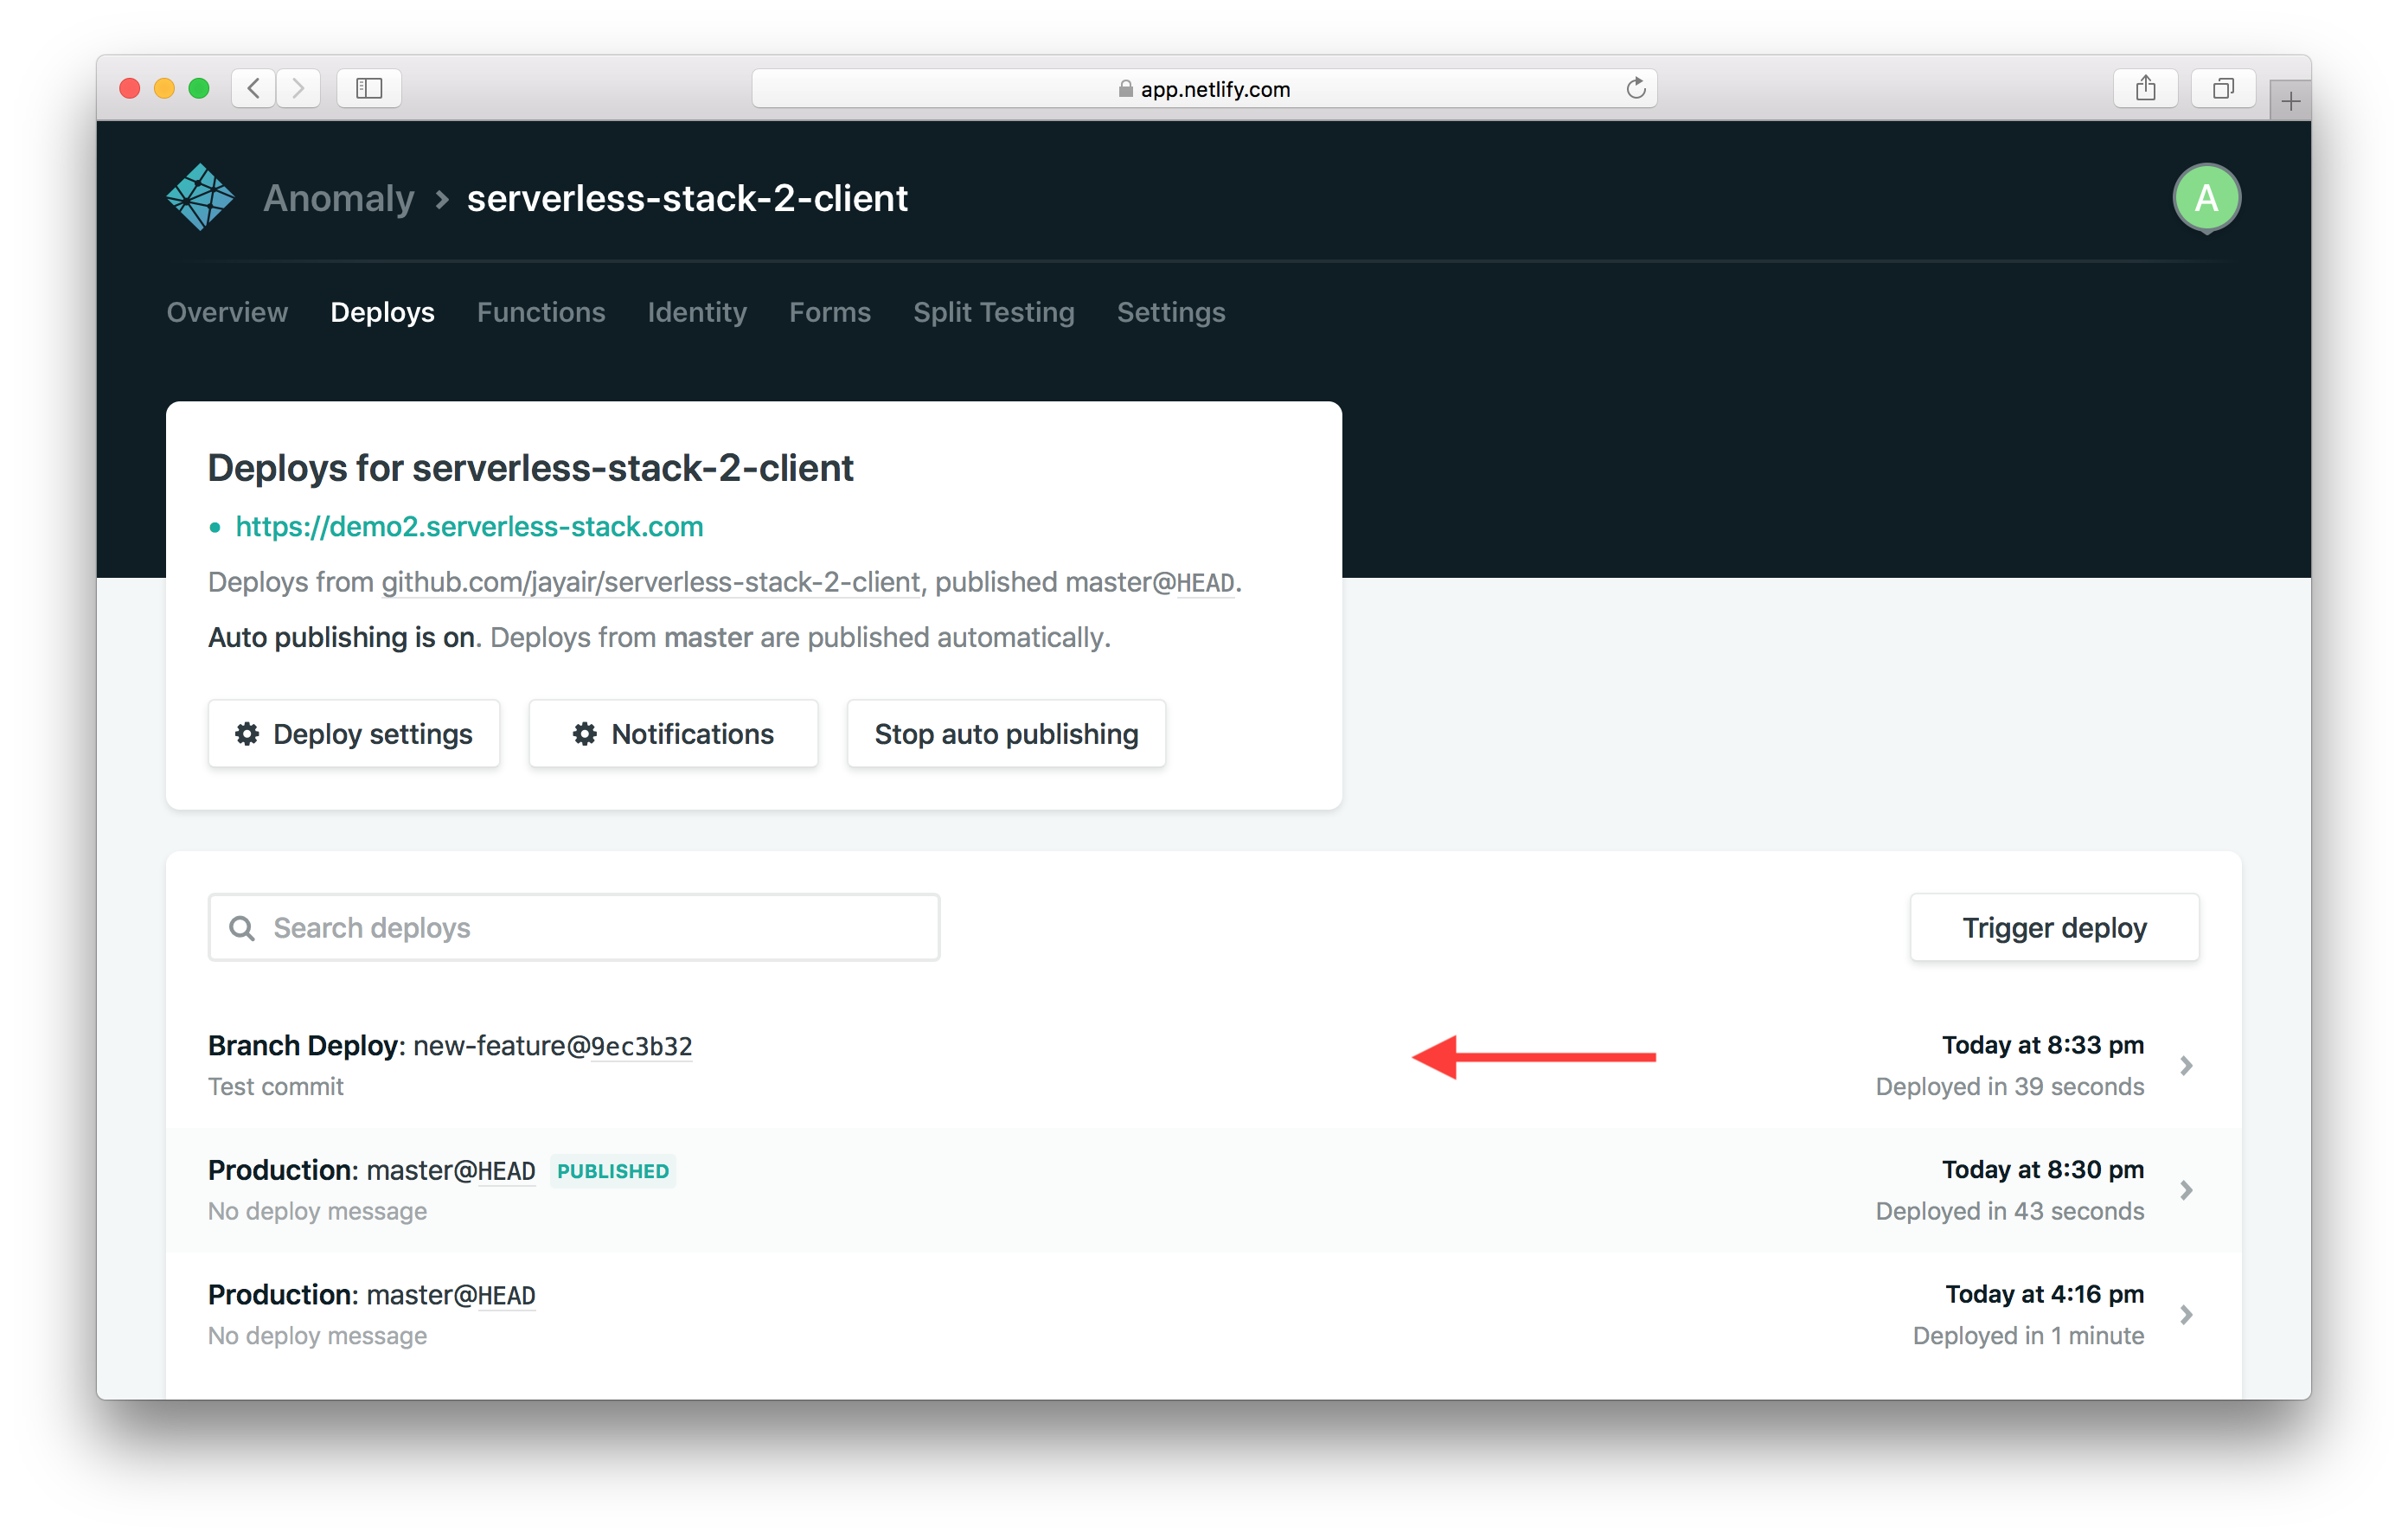
Now if you hop over to your Netlify project page; you’ll see a new branch deploy in action. Wait for it to complete and click on it.
Hit Preview deploy.

And you can see a new version of your app in action!
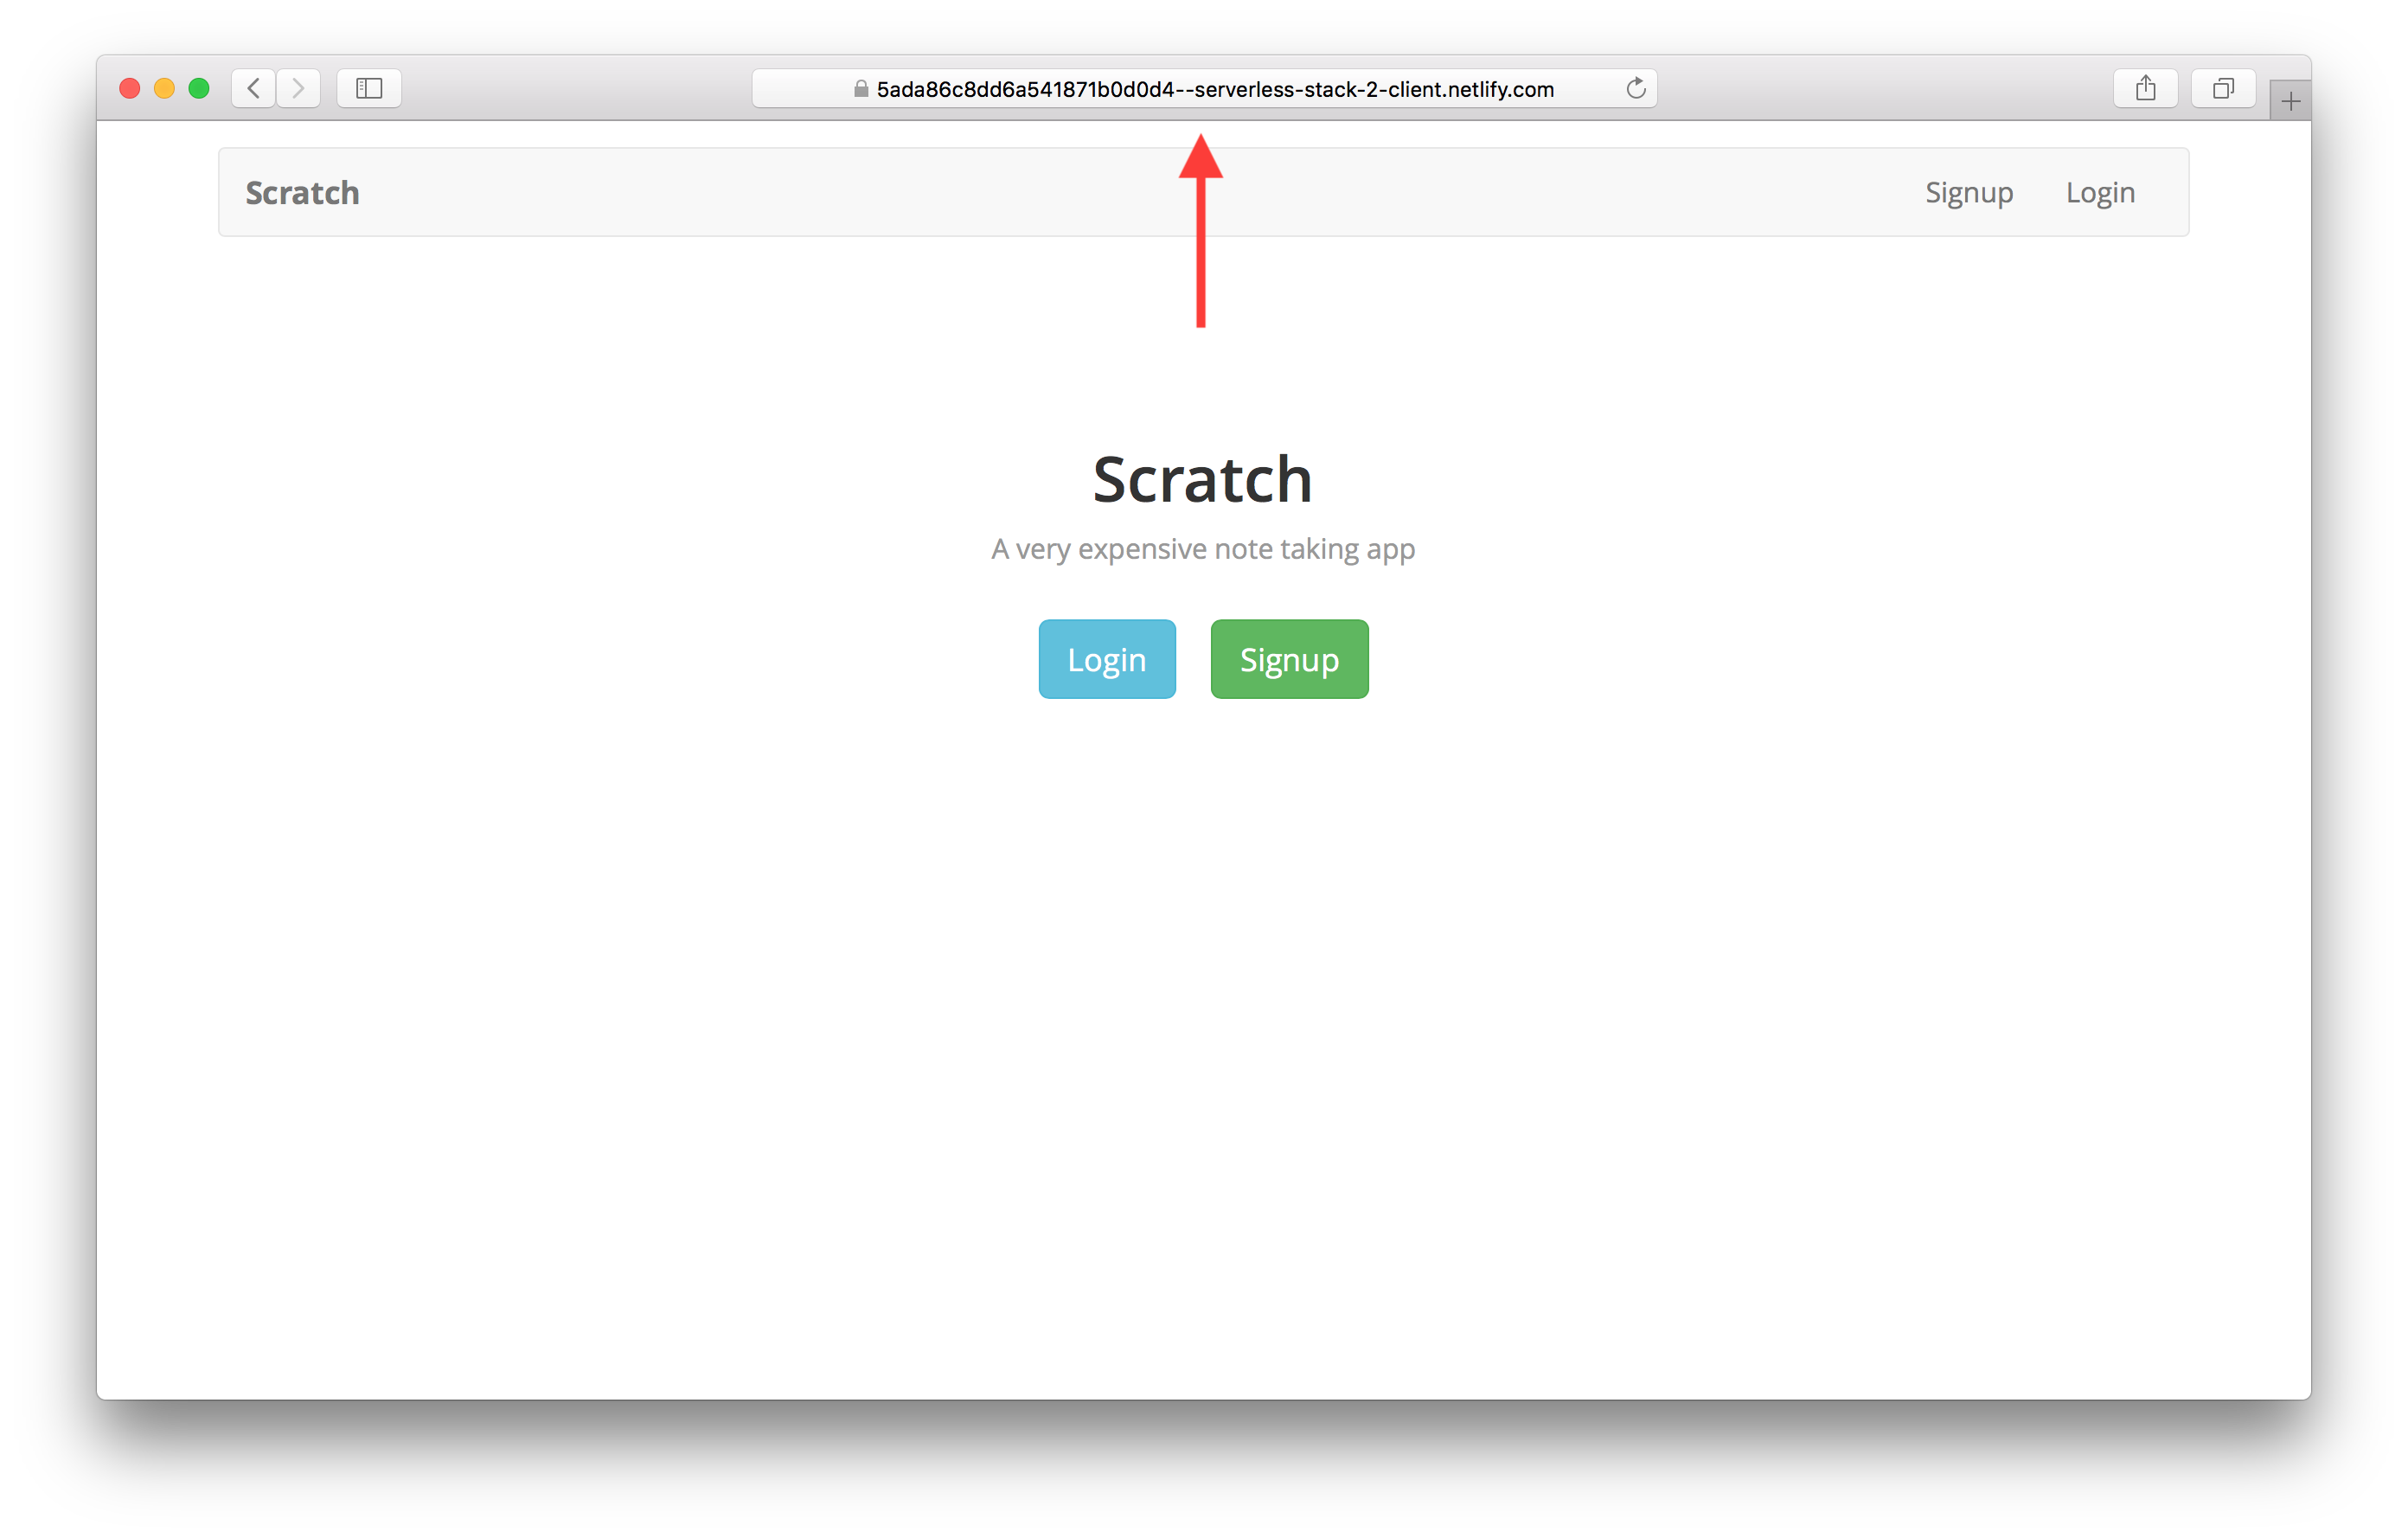
You can test around this version of our frontend app. It is connected to the dev version of our backend API. The idea is that we can test and play around with the changes here without affecting our production users.
Push to Production
Now if we feel happy with the changes we can push this to production just by merging to master.
$ git checkout master
$ git merge new-feature
$ git push
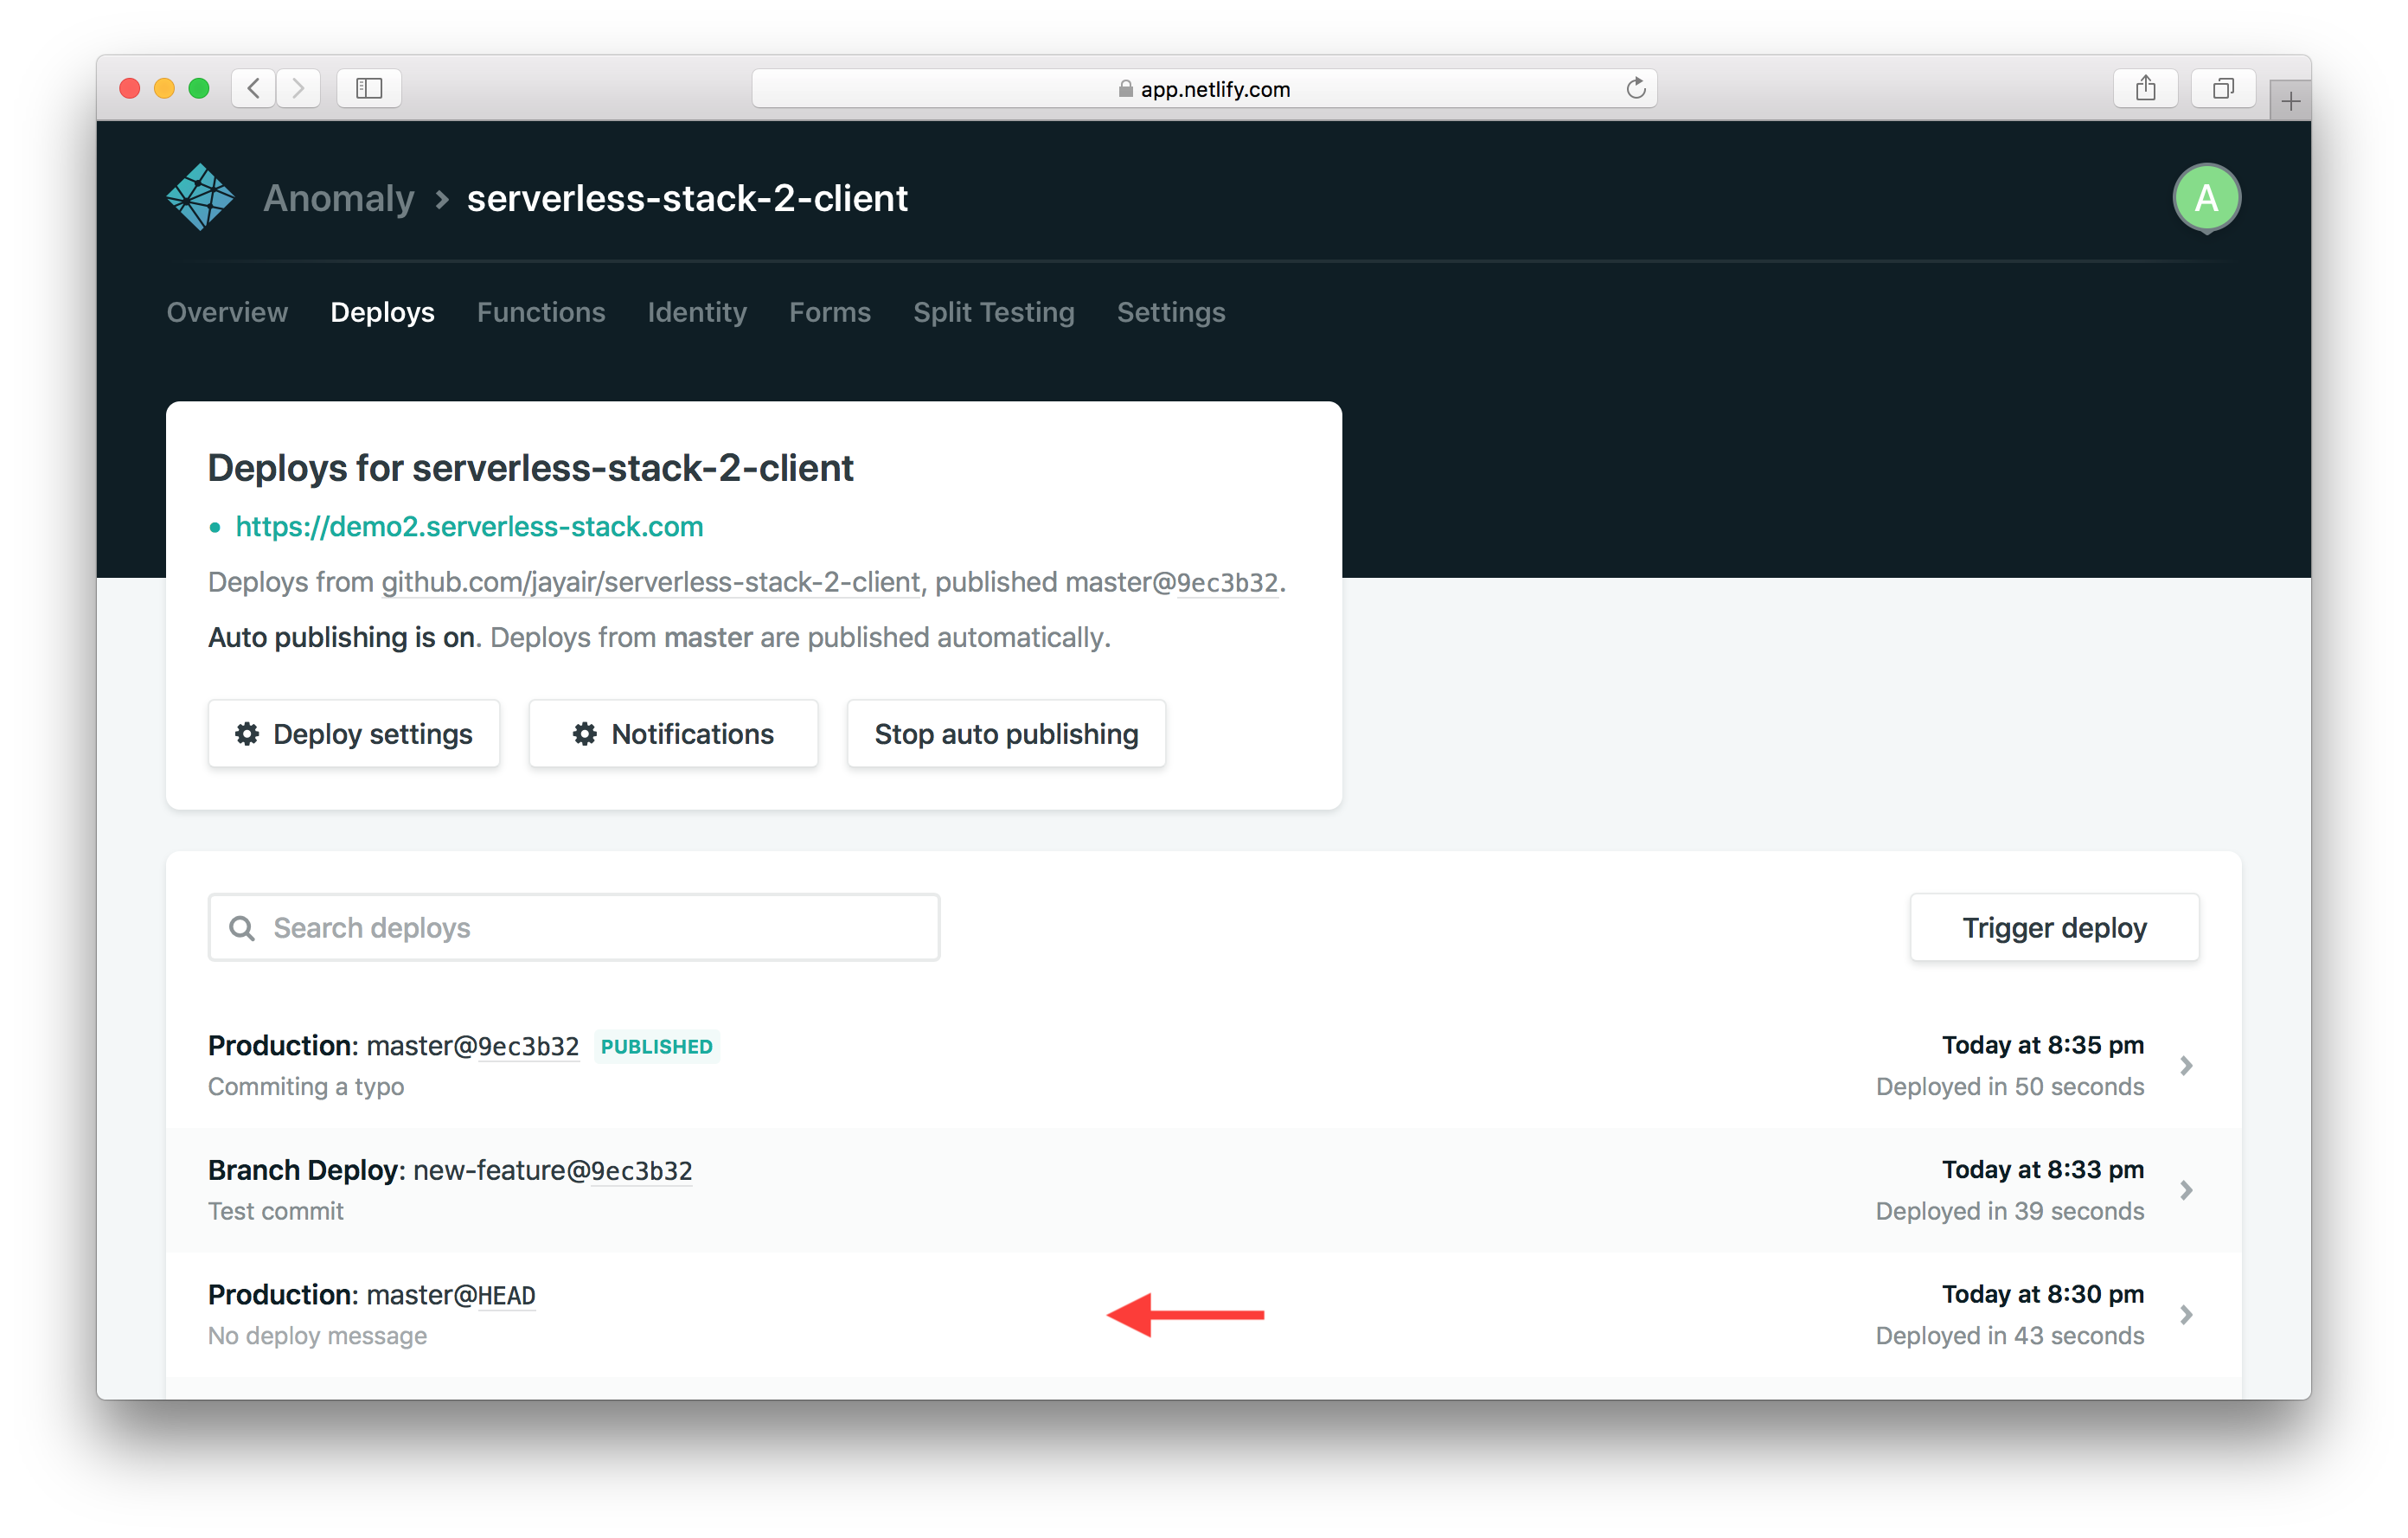
You should see this deployment in action in Netlify.

And once it is done, your changes should be live!
Rolling Back in Production
Now for some reason if we aren’t happy with the build in production, we can rollback.
Click on the older production deployment.
And hit Publish deploy.
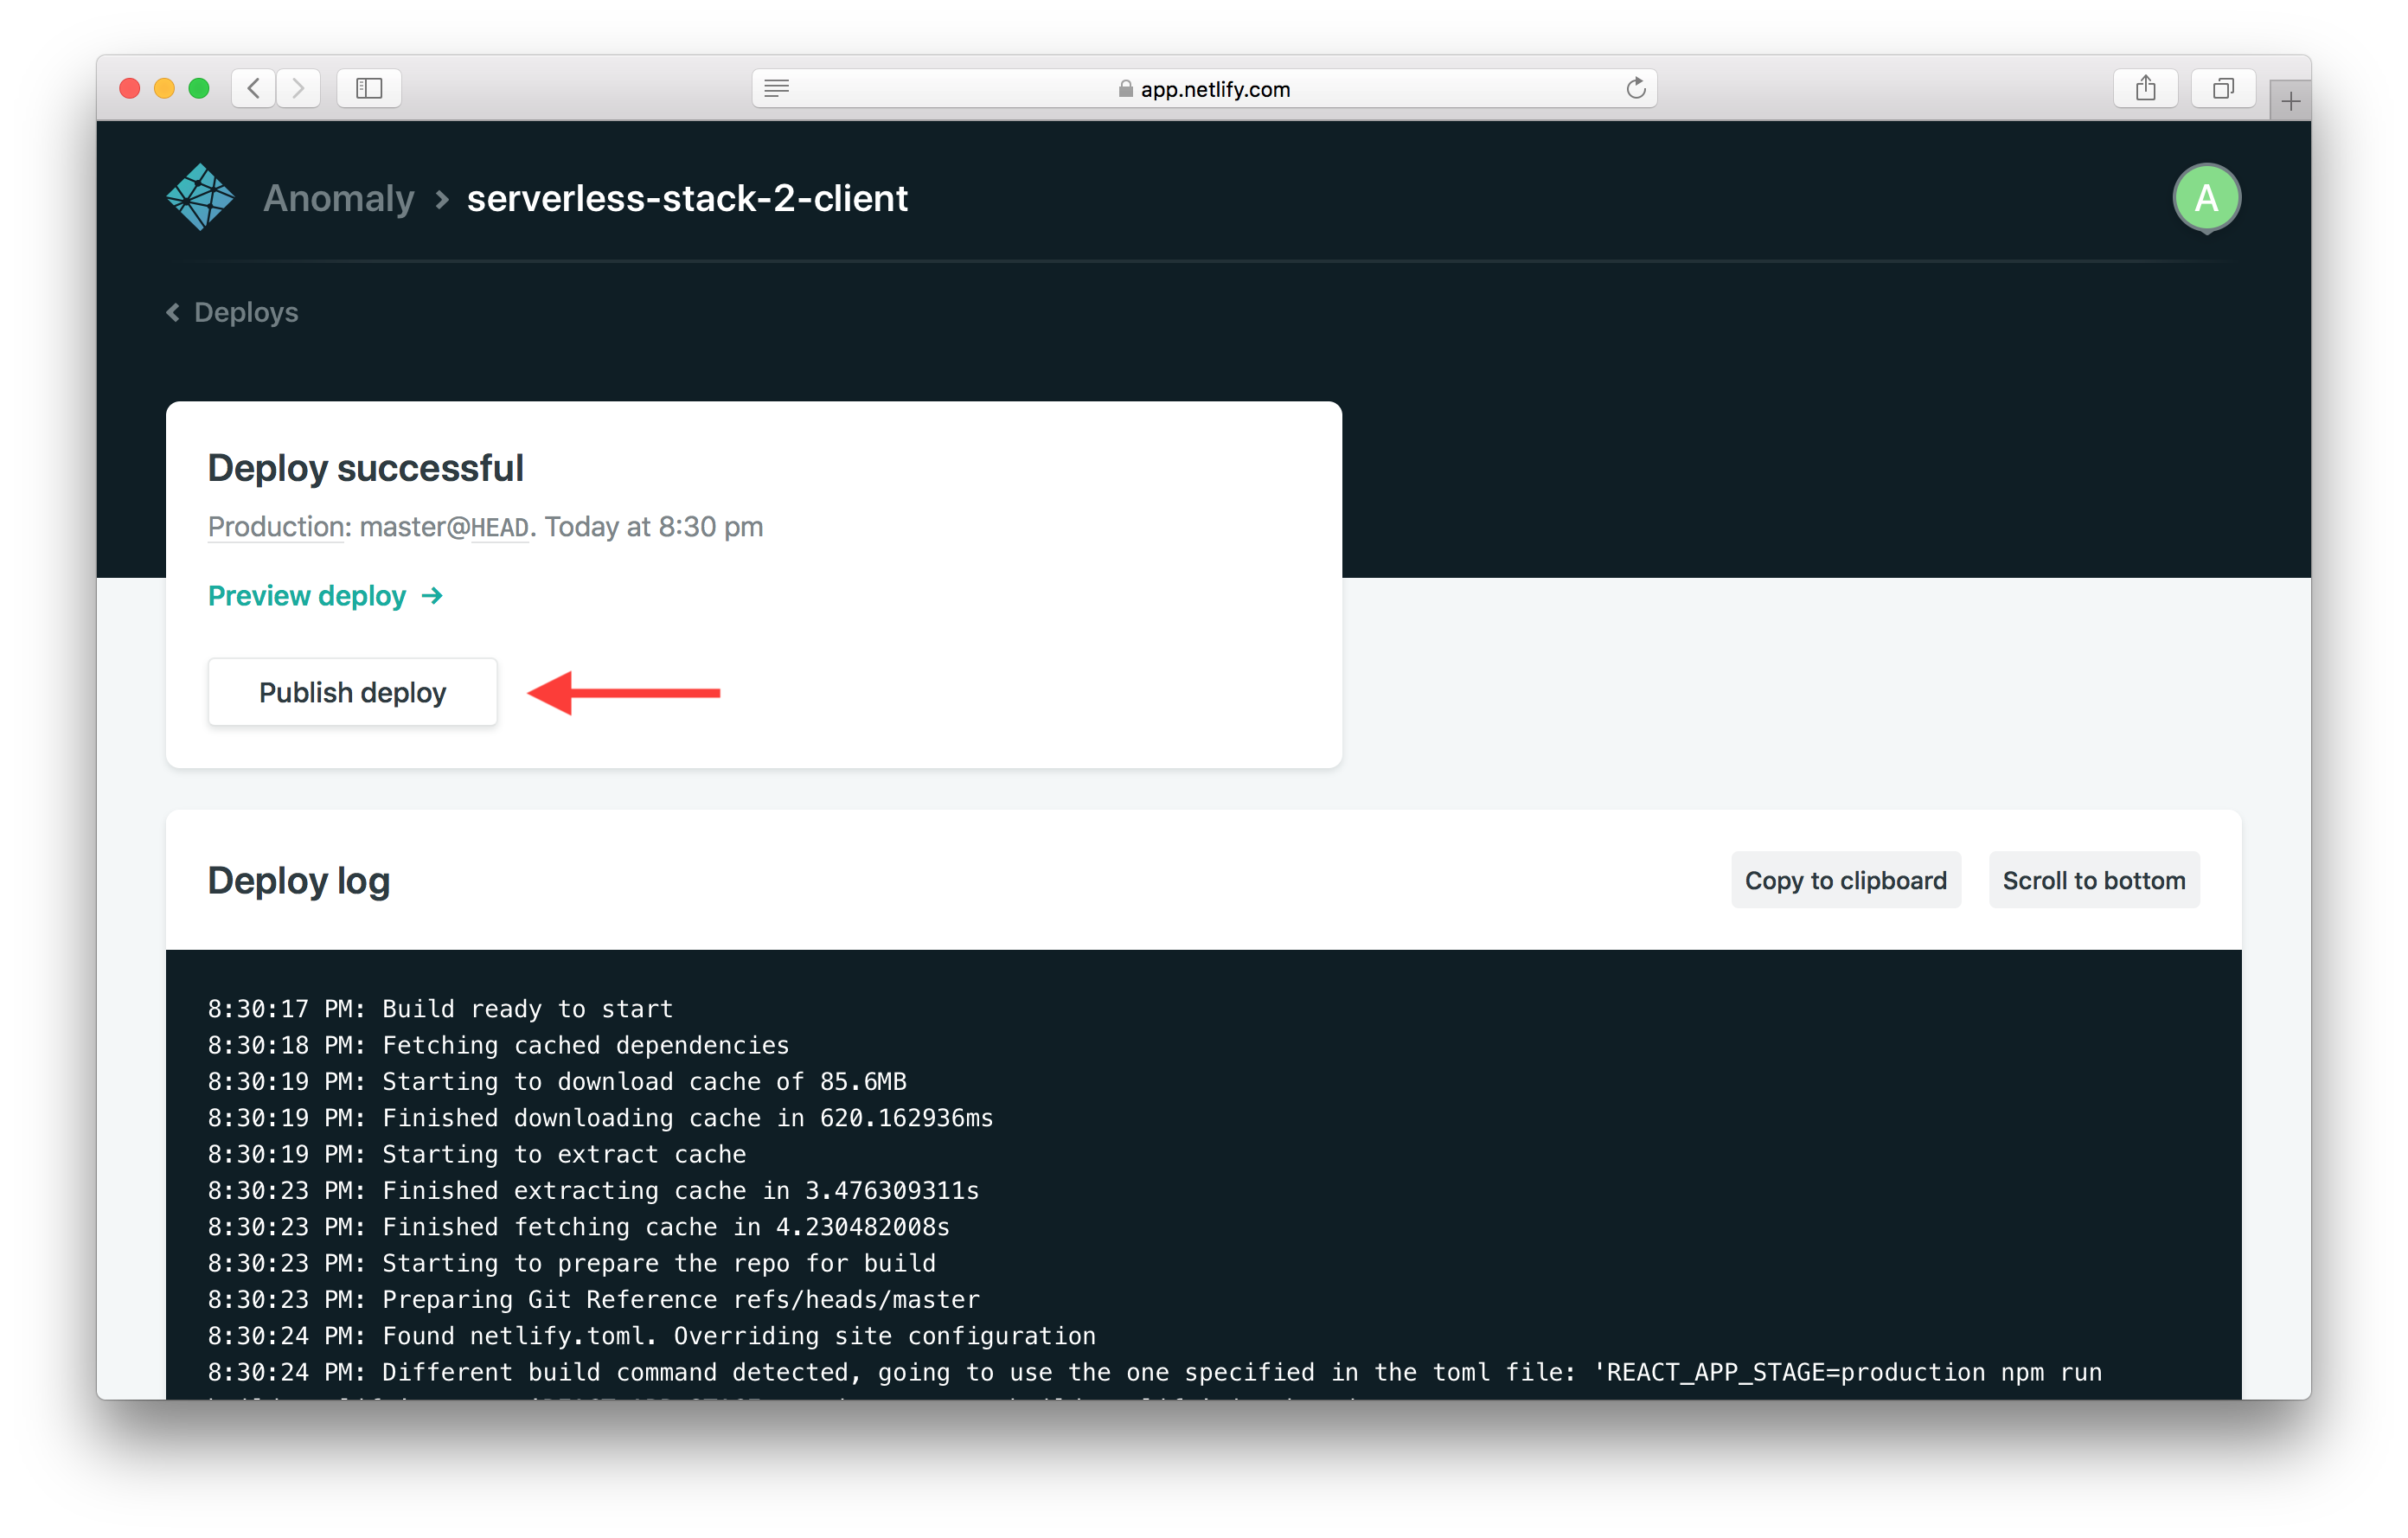
This will publish our previous version again.
And that’s it! Now you have an automated workflow for building and deploying your Create React App with serverless.
Cleanup
Let’s quickly cleanup our changes.
Replace the renderLander method in src/containers/Home.js with the original.
renderLander() {
return (
<div className="lander">
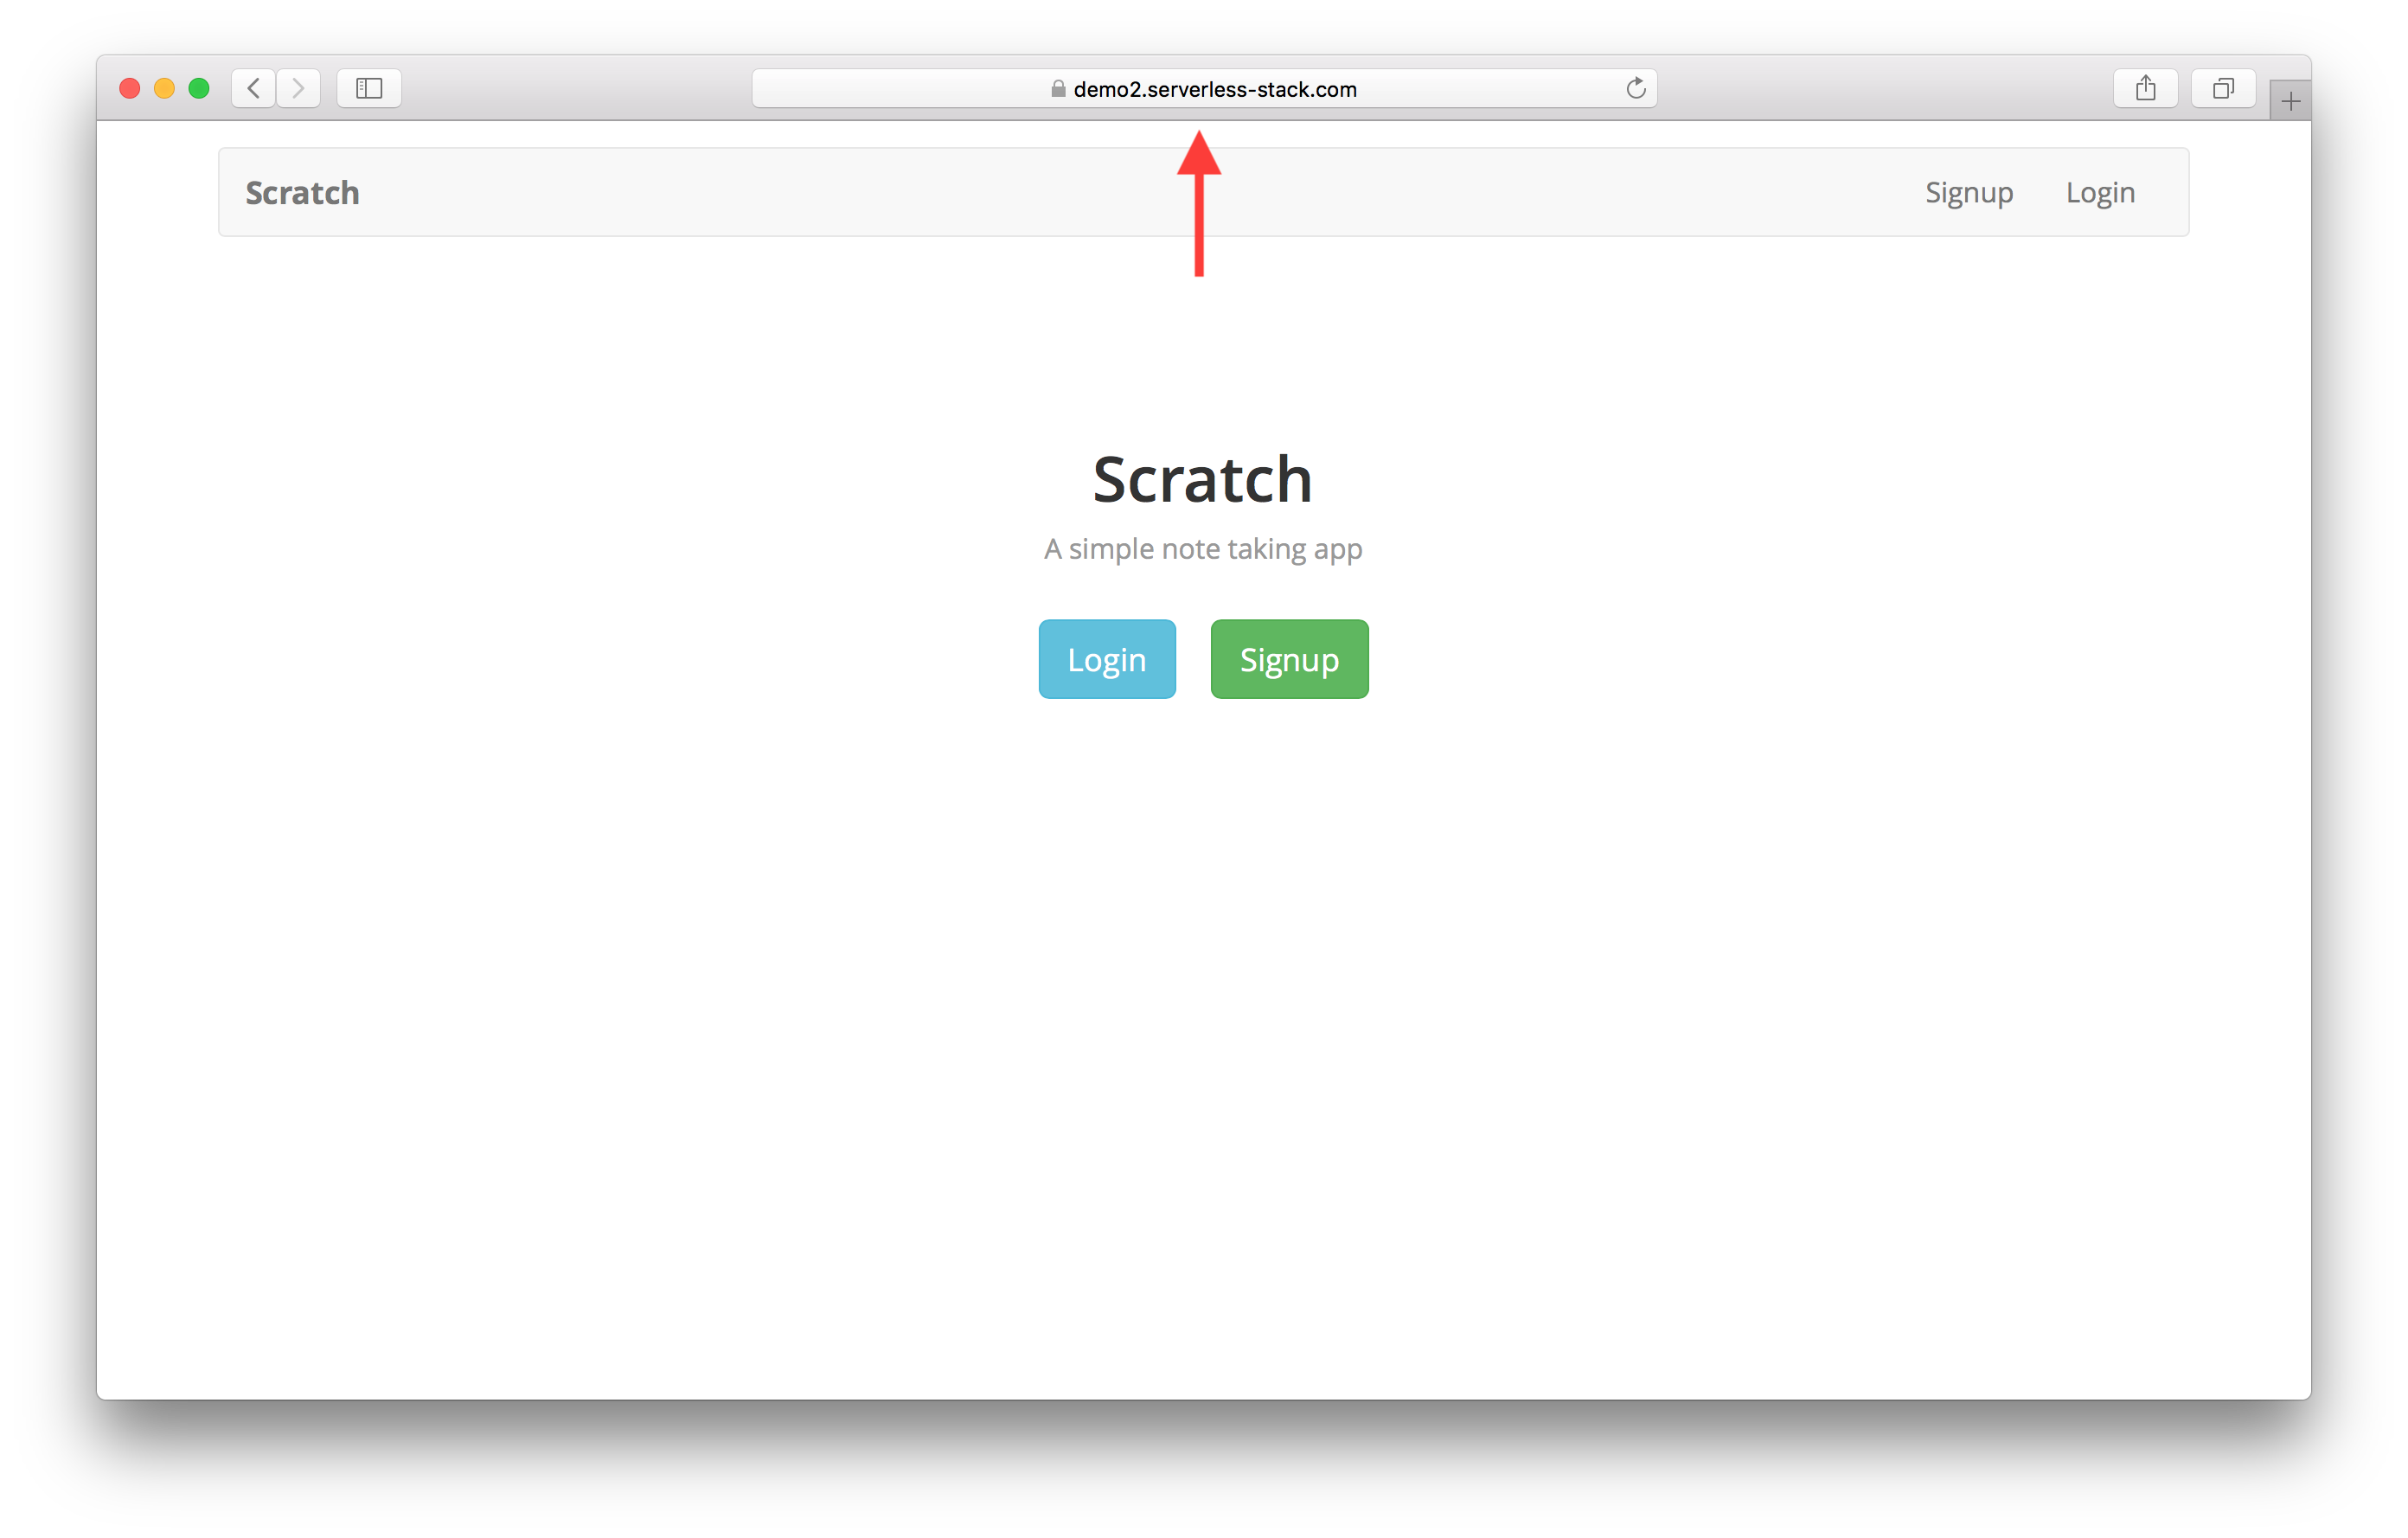
<h1>Scratch</h1>
<p>A simple note taking app</p>
<div>
<Link to="/login" className="btn btn-info btn-lg">
Login
</Link>
<Link to="/signup" className="btn btn-success btn-lg">
Signup
</Link>
</div>
</div>
);
}
Commit these changes and push them by running the following.
$ git add .
$ git commit -m "Fixing a typo"
$ git push
This will create a new deployment to live! Let’s wrap up the guide next.
For help and discussion
Comments on this chapterFor reference, here is the code for Part II
Frontend Part II SourceIf you liked this post, please subscribe to our newsletter, give us a star on GitHub, and follow us on Twitter.
Brought to you by
