Initialize the Backend Repo
To start with we are going to create our new project and add it to GitHub. We are going to be working off the code we’ve created so far.
Clone the Code so Far
 In your working directory, start by cloning the original repo.
$ git clone --branch handle-api-gateway-cors-errors --depth 1 https://github.com/AnomalyInnovations/serverless-stack-demo-api.git serverless-stack-2-api/
$ cd serverless-stack-2-api/
And remove the .git/ dir.
$ rm -rf .git/
Let’s install our Node modules as well.
$ npm install
Create a New Github Repo
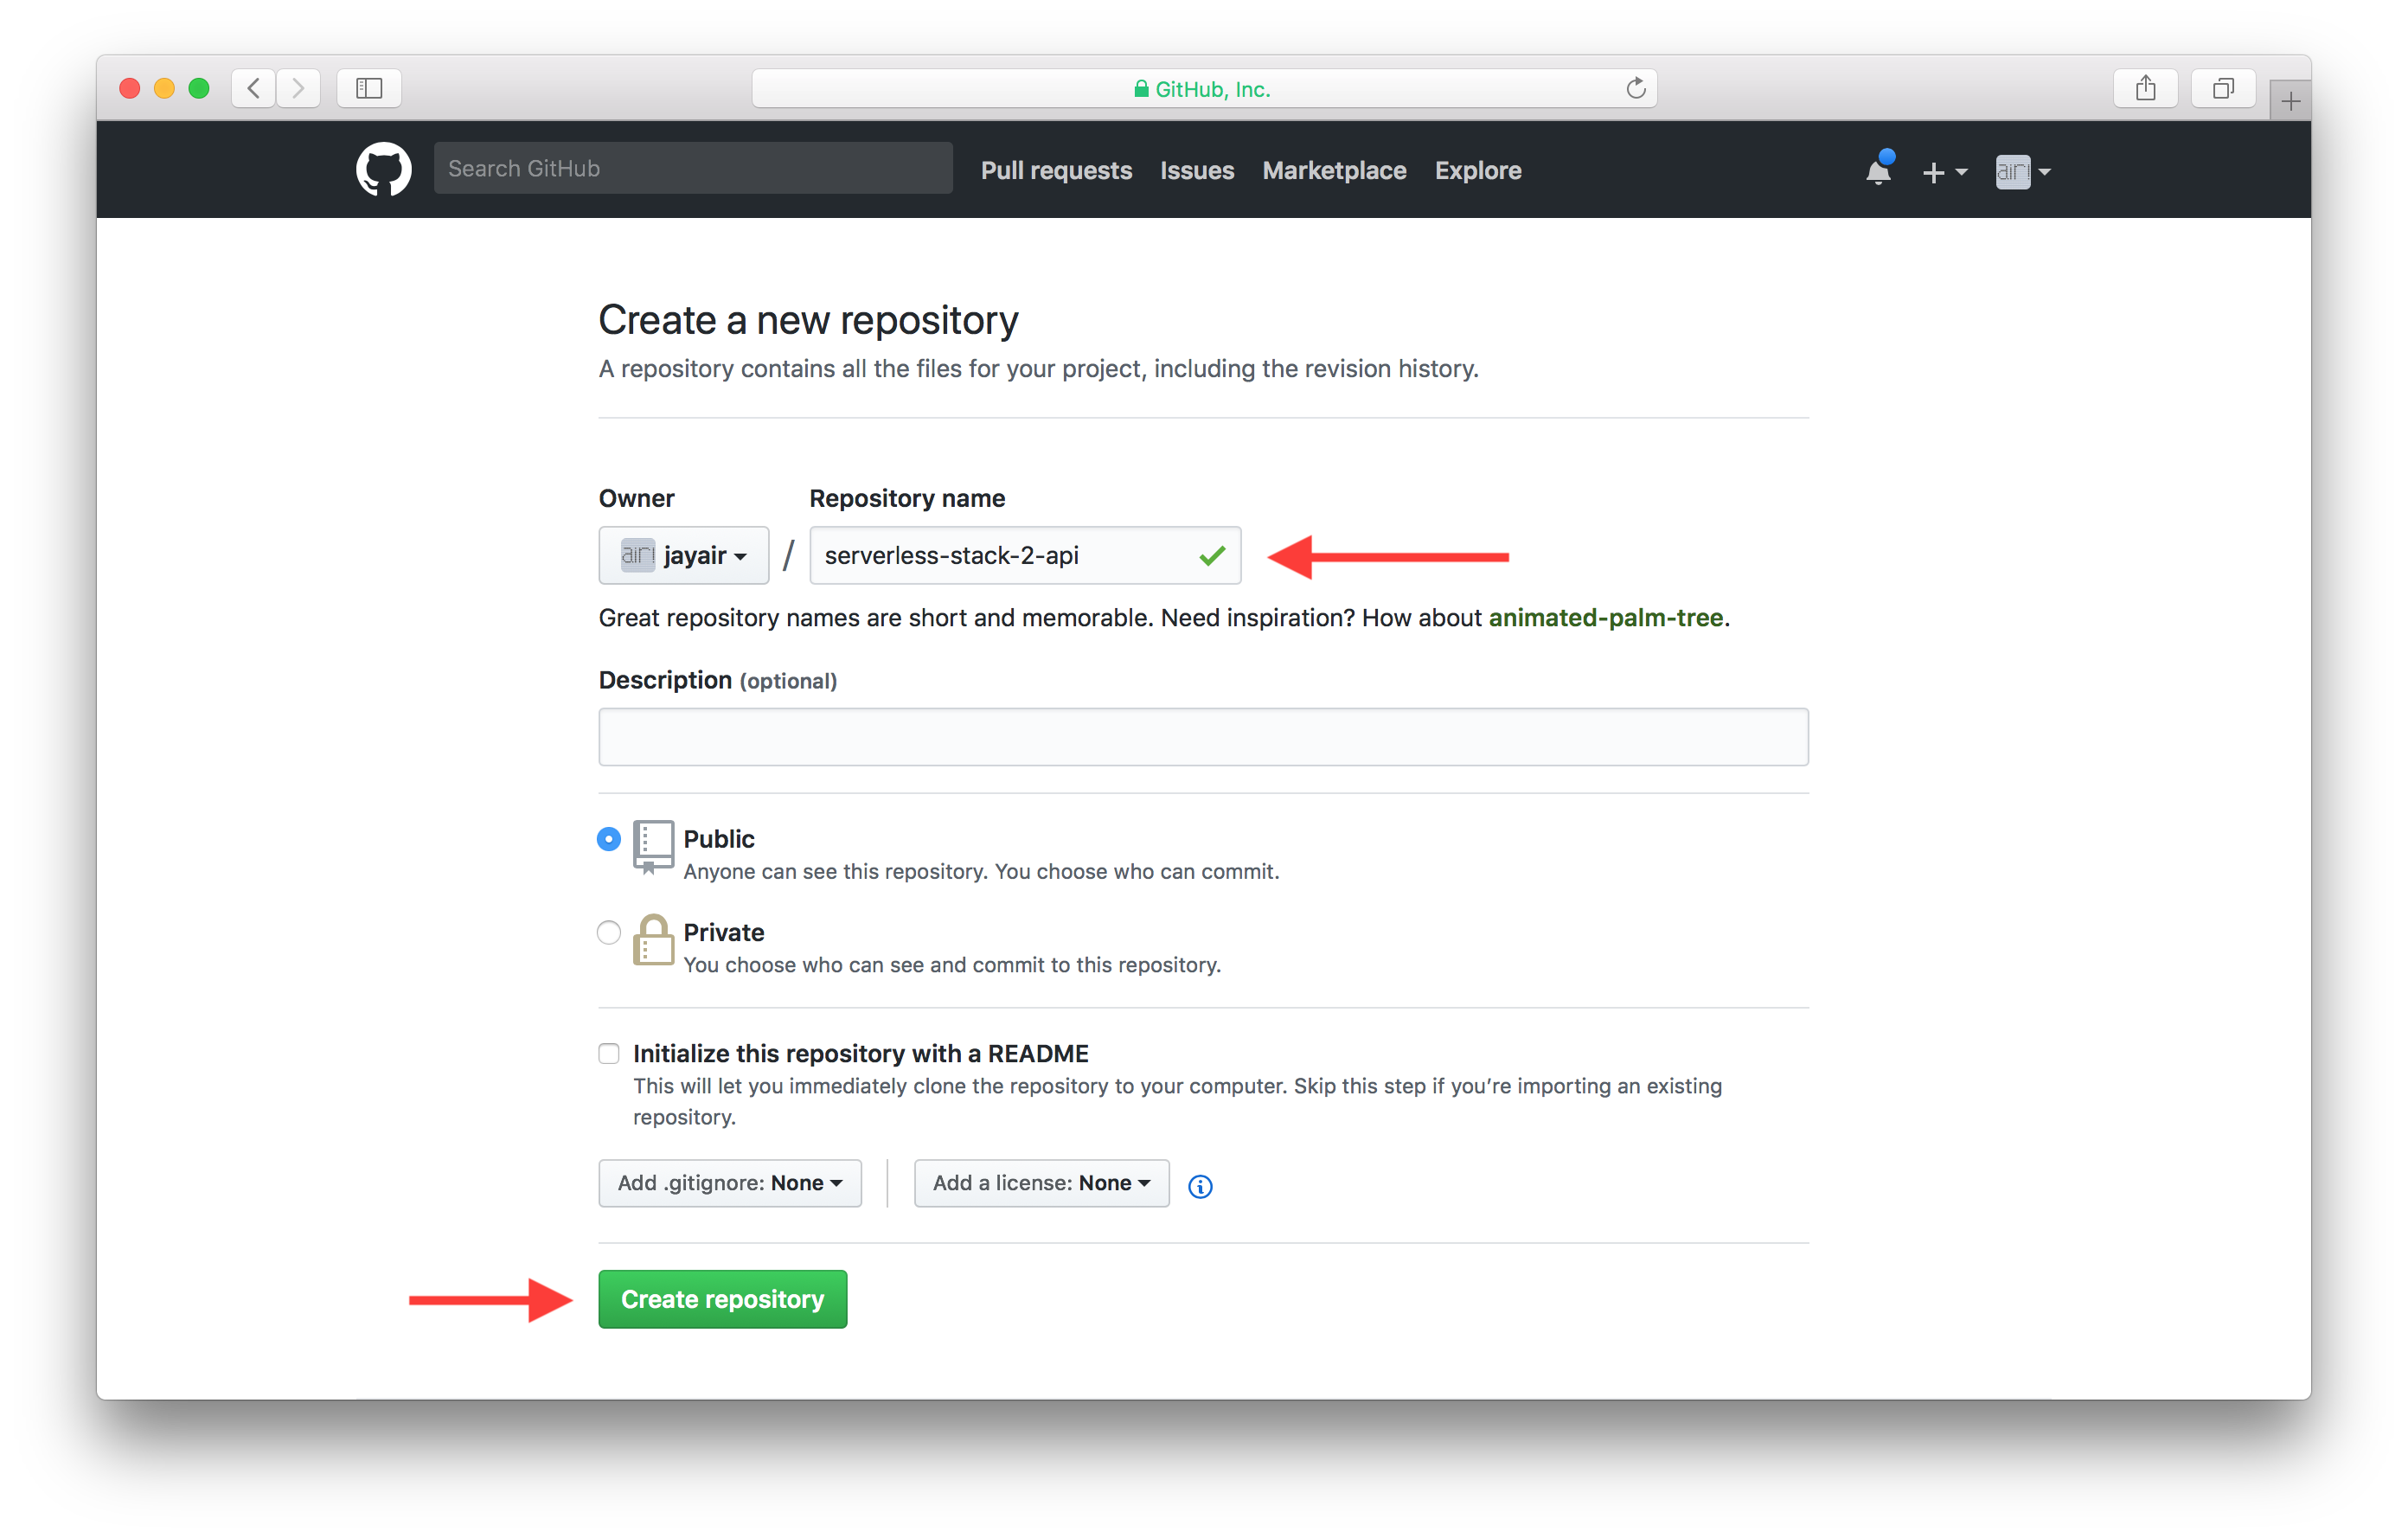
Let’s head over to GitHub. Make sure you are signed in and hit New repository.

Give your repository a name, in our case we are calling it serverless-stack-2-api. Next hit Create repository.
Once your repository is created, copy the repository URL. We’ll need this soon.

In our case the URL is:
https://github.com/jayair/serverless-stack-2-api.git
Initialize Your New Repo
Now head back to your project and use the following command to initialize your new repo.
$ git init
Add the existing files.
$ git add .
Create your first commit.
$ git commit -m "First commit"
Link it to the repo you created on GitHub.
$ git remote add origin REPO_URL
Here REPO_URL is the URL we copied from GitHub in the steps above. You can verify that it has been set correctly by doing the following.
$ git remote -v
Finally, let’s push our first commit to GitHub using:
$ git push -u origin master
Next, let’s make a couple of quick changes to our project to get organized.
For help and discussion
Comments on this chapterIf you liked this post, please subscribe to our newsletter, give us a star on GitHub, and follow us on Twitter.
Brought to you by
