Call the List API
Now that we have our basic homepage set up, let’s make the API call to render our list of notes.
Make the Request
 Add the following below the
 constructor block in src/containers/Home.js.
async componentDidMount() {
  if (!this.props.isAuthenticated) {
    return;
  }

  try {
    const notes = await this.notes();
    this.setState({ notes });
  } catch (e) {
    alert(e);
  }

  this.setState({ isLoading: false });
}

notes() {
  return API.get("notes", "/notes");
}
And include our Amplify API module in the header.
import { API } from "aws-amplify";
All this does, is make a GET request to /notes on componentDidMount and puts the results in the notes object in the state.
Now let’s render the results.
Render the List
Replace our renderNotesList placeholder method with the following.
renderNotesList(notes) {
  return [{}].concat(notes).map(
    (note, i) =>
      i !== 0
        ? <LinkContainer
            key={note.noteId}
            to={`/notes/${note.noteId}`}
          >
            <ListGroupItem header={note.content.trim().split("\n")[0]}>
              {"Created: " + new Date(note.createdAt).toLocaleString()}
            </ListGroupItem>
          </LinkContainer>
        : <LinkContainer
            key="new"
            to="/notes/new"
          >
            <ListGroupItem>
              <h4>
                <b>{"\uFF0B"}</b> Create a new note
              </h4>
            </ListGroupItem>
          </LinkContainer>
  );
}
And include the ListGroupItem in the header so that our react-bootstrap import looks like so.
import { PageHeader, ListGroup, ListGroupItem } from "react-bootstrap";
Also include the LinkContainer from react-router-bootstrap.
import { LinkContainer } from "react-router-bootstrap";
The code above does a few things.
-
It always renders a Create a new note button as the first item in the list (even if the list is empty). We do this by concatenating an array with an empty object with our
notesarray. -
We render the first line of each note as the
ListGroupItemheader by doingnote.content.trim().split('\n')[0]. -
And the
LinkContainercomponent directs our app to each of the items.
Let’s also add a couple of styles to our src/containers/Home.css.
.Home .notes h4 {
  font-family: "Open Sans", sans-serif;
  font-weight: 600;
  overflow: hidden;
  line-height: 1.5;
  white-space: nowrap;
  text-overflow: ellipsis;
}
.Home .notes p {
  color: #666;
}
Now head over to your browser and you should see your list displayed.
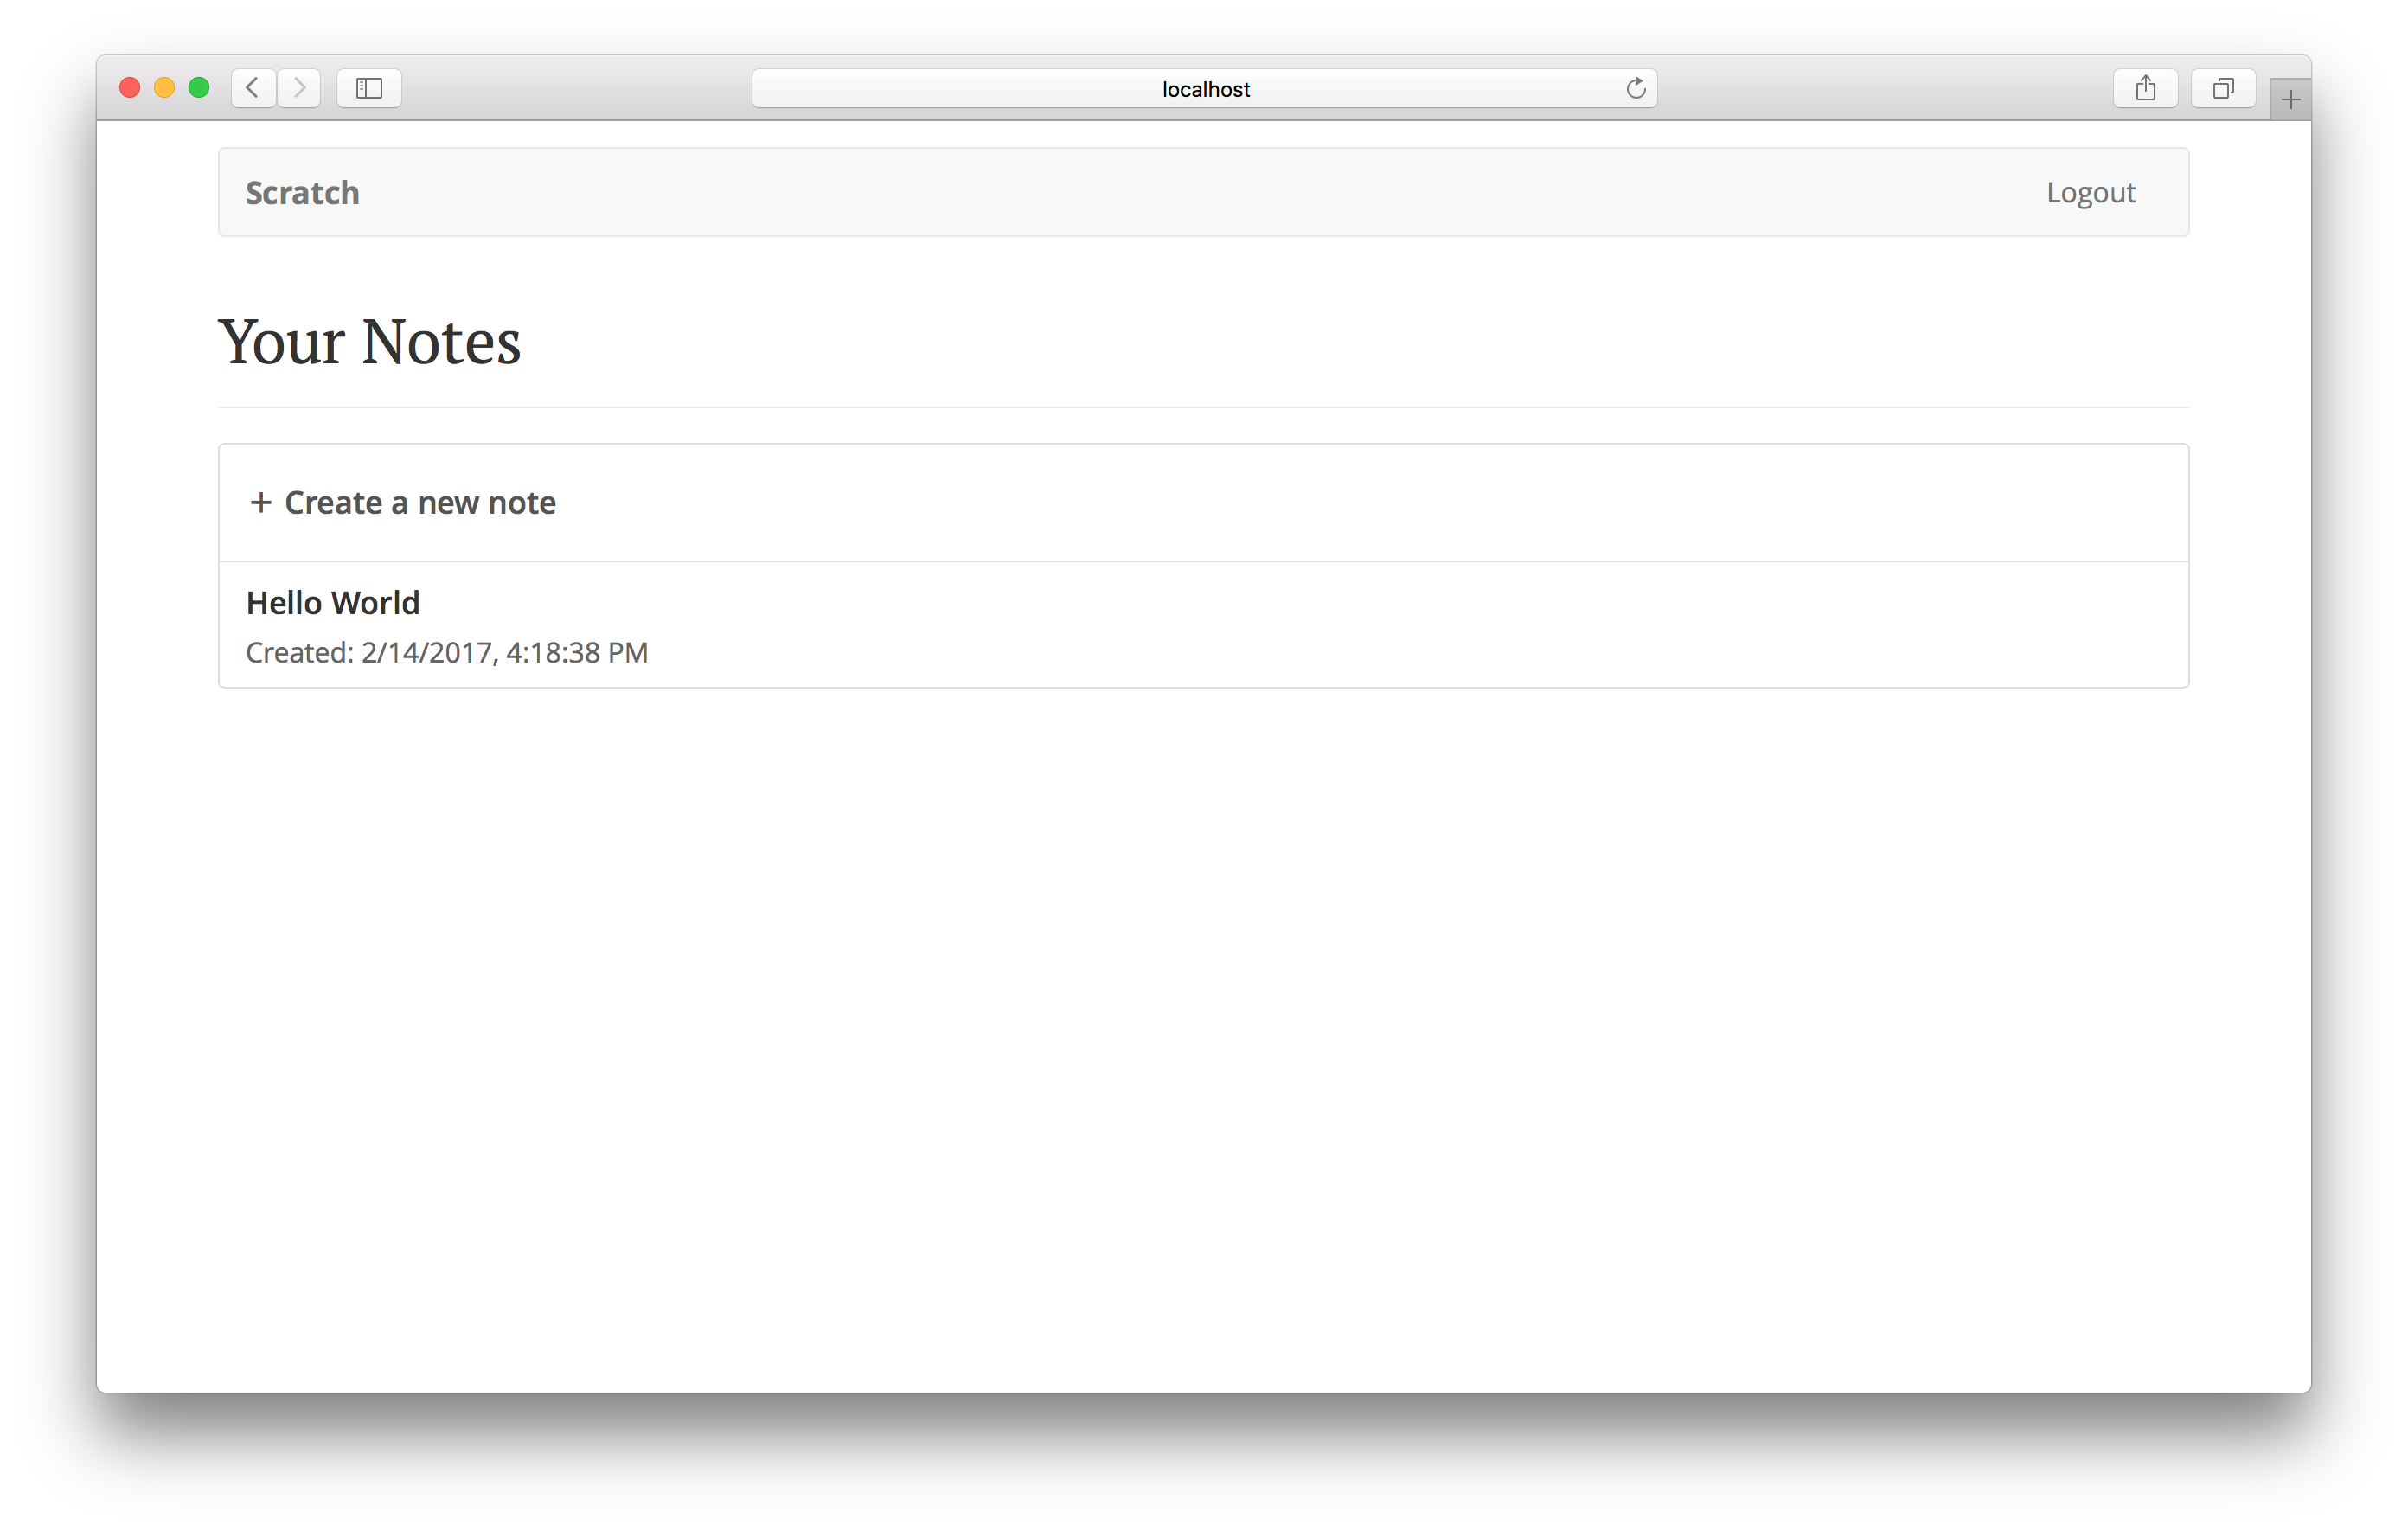
And if you click on the links they should take you to their respective pages.
Next up we are going to allow users to view and edit their notes.
For help and discussion
Comments on this chapterIf you liked this post, please subscribe to our newsletter, give us a star on GitHub, and follow us on Twitter.
Brought to you by
