Call the List API
이제 기본 홈페이지를 설정 했으므로 노트 목록을 렌더링하는 API 호출을 만들어 보겠습니다.
요청 만들기

src/containers/Home.js 파일의 constructor 블럭 아래에 다음 내용을 추가합니다.
async componentDidMount() {
  if (!this.props.isAuthenticated) {
    return;
  }

  try {
    const notes = await this.notes();
    this.setState({ notes });
  } catch (e) {
    alert(e);
  }

  this.setState({ isLoading: false });
}

notes() {
  return API.get("notes", "/notes");
}
 그리고 헤더에 Amplify API을 추가합니다.
import { API } from "aws-amplify";
이 작업 내용은 componentDidMount에 /notes에 GET 요청을하고 그 결과를 state의 notes 객체에 넣는 과정입니다.
이제 결과를 렌더링 해 봅시다.
목록을 렌더링하기

renderNotesList 메소드를 다음 내용으로 바꿉니다.
renderNotesList(notes) {
  return [{}].concat(notes).map(
    (note, i) =>
      i !== 0
        ? <LinkContainer
            key={note.noteId}
            to={`/notes/${note.noteId}`}
          >
            <ListGroupItem header={note.content.trim().split("\n")[0]}>
              {"Created: " + new Date(note.createdAt).toLocaleString()}
            </ListGroupItem>
          </LinkContainer>
        : <LinkContainer
            key="new"
            to="/notes/new"
          >
            <ListGroupItem>
              <h4>
                <b>{"\uFF0B"}</b> Create a new note
              </h4>
            </ListGroupItem>
          </LinkContainer>
  );
}

react-bootstrap 파일의 헤더에ListGroupItem을 포함 시키십시오.
import { PageHeader, ListGroup, ListGroupItem } from "react-bootstrap";
 또한
또한 react-router-bootstrap에서 LinkContainer를 포함시킵니다.
import { LinkContainer } from "react-router-bootstrap";
위의 코드는 몇 가지 작업을 수행합니다.
-
항상 목록에있는 첫 번째 항목에는 새 노트 만들기 버튼을 렌더링합니다(목록이 비어 있더라도). 여기서 배열을 빈 객체와
notes배열로 연결하여이 작업을 수행합니다. -
note.content.trim().split('\ n')[0]을 실행하여 각 노트의 첫 번째 줄을ListGroupItem헤더로 렌더링합니다. -
그리고
LinkContainer컴포넌트는 앱에서 각각의 노트 아이템으로 이동합니다.

src/containers/Home.css에 몇 가지 스타일을 추가합니다.
.Home .notes h4 {
  font-family: "Open Sans", sans-serif;
  font-weight: 600;
  overflow: hidden;
  line-height: 1.5;
  white-space: nowrap;
  text-overflow: ellipsis;
}
.Home .notes p {
  color: #666;
}
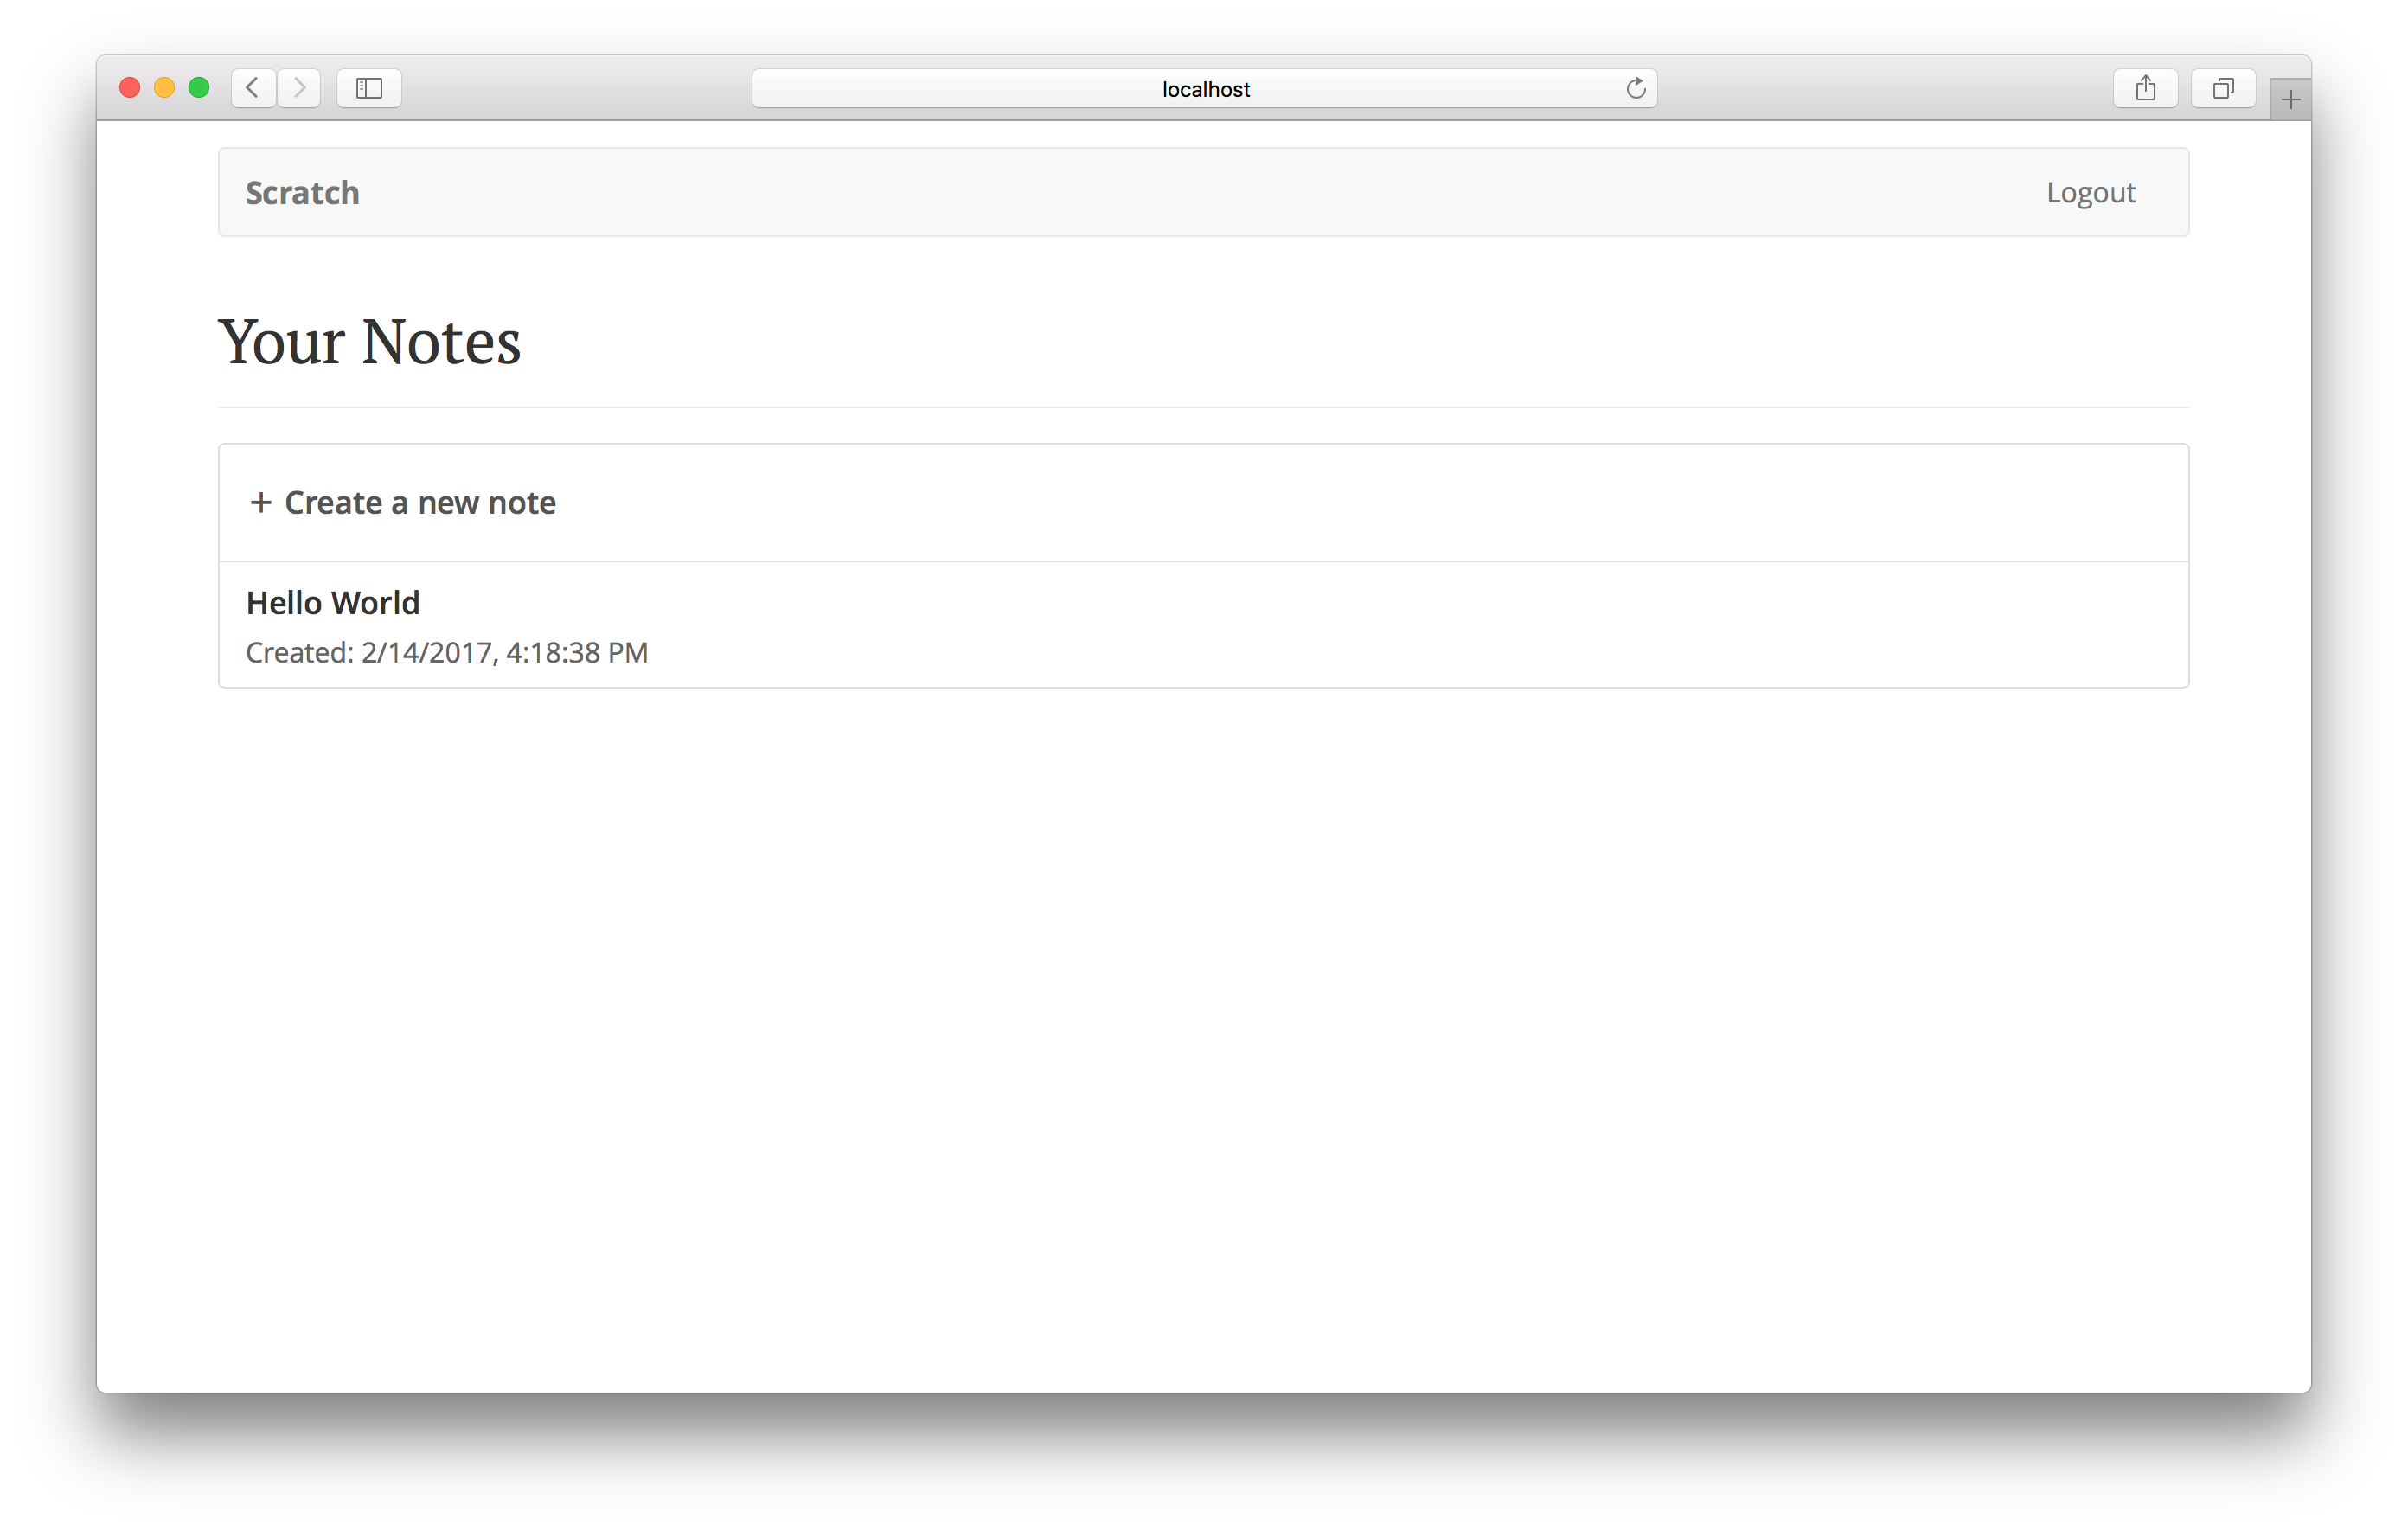
이제 브라우저로 전환하면 노트 목록이 보여야 합니다.

목록에서 링크를 클릭하면 해당 페이지로 연결됩니다.
다음으로 사용자가 노트를 보고 편집 할 수 있도록 합니다.
For help and discussion
Comments on this chapterIf you liked this post, please subscribe to our newsletter, give us a star on GitHub, and follow us on Twitter.
