Add the Create Note Page
이제는 사용자를 등록하고 로그인할 수 있게 되었습니다. 노트 작성 앱의 가장 중요한 부분인 노트 작성 부터 시작해 보겠습니다.
먼저 노트용 양식을 만듭니다. 일부 콘텐츠와 첨부로 사용할 파일이 필요합니다.
컨테이너 추가하기

src/containers/NewNote.js 파일을 생성하고 아내 내용을 작성합니다.
import React, { Component } from "react";
import { FormGroup, FormControl, ControlLabel } from "react-bootstrap";
import LoaderButton from "../components/LoaderButton";
import config from "../config";
import "./NewNote.css";

export default class NewNote extends Component {
  constructor(props) {
    super(props);

    this.file = null;

    this.state = {
      isLoading: null,
      content: ""
    };
  }

  validateForm() {
    return this.state.content.length > 0;
  }

  handleChange = event => {
    this.setState({
      [event.target.id]: event.target.value
    });
  }

  handleFileChange = event => {
    this.file = event.target.files[0];
  }

  handleSubmit = async event => {
    event.preventDefault();

    if (this.file && this.file.size > config.MAX_ATTACHMENT_SIZE) {
      alert(`Please pick a file smaller than ${config.MAX_ATTACHMENT_SIZE/1000000} MB.`);
      return;
    }

    this.setState({ isLoading: true });
  }

  render() {
    return (
      <div className="NewNote">
        <form onSubmit={this.handleSubmit}>
          <FormGroup controlId="content">
            <FormControl
              onChange={this.handleChange}
              value={this.state.content}
              componentClass="textarea"
            />
          </FormGroup>
          <FormGroup controlId="file">
            <ControlLabel>Attachment</ControlLabel>
            <FormControl onChange={this.handleFileChange} type="file" />
          </FormGroup>
          <LoaderButton
            block
            bsStyle="primary"
            bsSize="large"
            disabled={!this.validateForm()}
            type="submit"
            isLoading={this.state.isLoading}
            text="Create"
            loadingText="Creating…"
          />
        </form>
      </div>
    );
  }
}
파일 입력을 제외하고 대부분 표준적인 내용들입니다. 지금까지의 양식 요소는 그 값이 구성 요소의 상태에 의해 직접 제어되므로 제어되는 컴포넌트입니다. 파일 입력은 파일 객체를 클래스 프로퍼티로 저장하는 다른 onChange 핸들러(handleFileChange)를 호출합니다. 저장한 파일 객체가 구성 요소의 렌더링을 구동하거나 변경시키지 않기 때문에 클래스 속성을 state로 저장하는 대신 클래스 속성을 사용합니다.
현재, handleSubmit은 첨부 파일의 파일 크기를 제한하는 것 외에는 별다른 기능이 없습니다. 우리는 이것을 config에서 정의 할 예정입니다.
 자 그럼,
자 그럼, src/config.js 파일의 export default { 라인 바로 아래에 다음 내용을 추가합니다.
MAX_ATTACHMENT_SIZE: 5000000,
 이제
이제 src/containers/NewNote.css 파일을 추가해서 입력 양식에 스타일을 추가합니다.
.NewNote form {
  padding-bottom: 15px;
}

.NewNote form textarea {
  height: 300px;
  font-size: 24px;
}
경로 추가하기
 마지막으로 작성한 컨테이너를
 src/Routes.js 파일의 가입(“/signup”) 경로 아래에 추가하십시오. 상태에 세션 추가하기 챕터에서 작성한 AppliedRoute 컴포넌트를 사용합니다.
<AppliedRoute path="/notes/new" exact component={NewNote} props={childProps} />
 그리고 컴포넌트 헤더에 아래 내용을 추가합니다.
import NewNote from "./containers/NewNote";
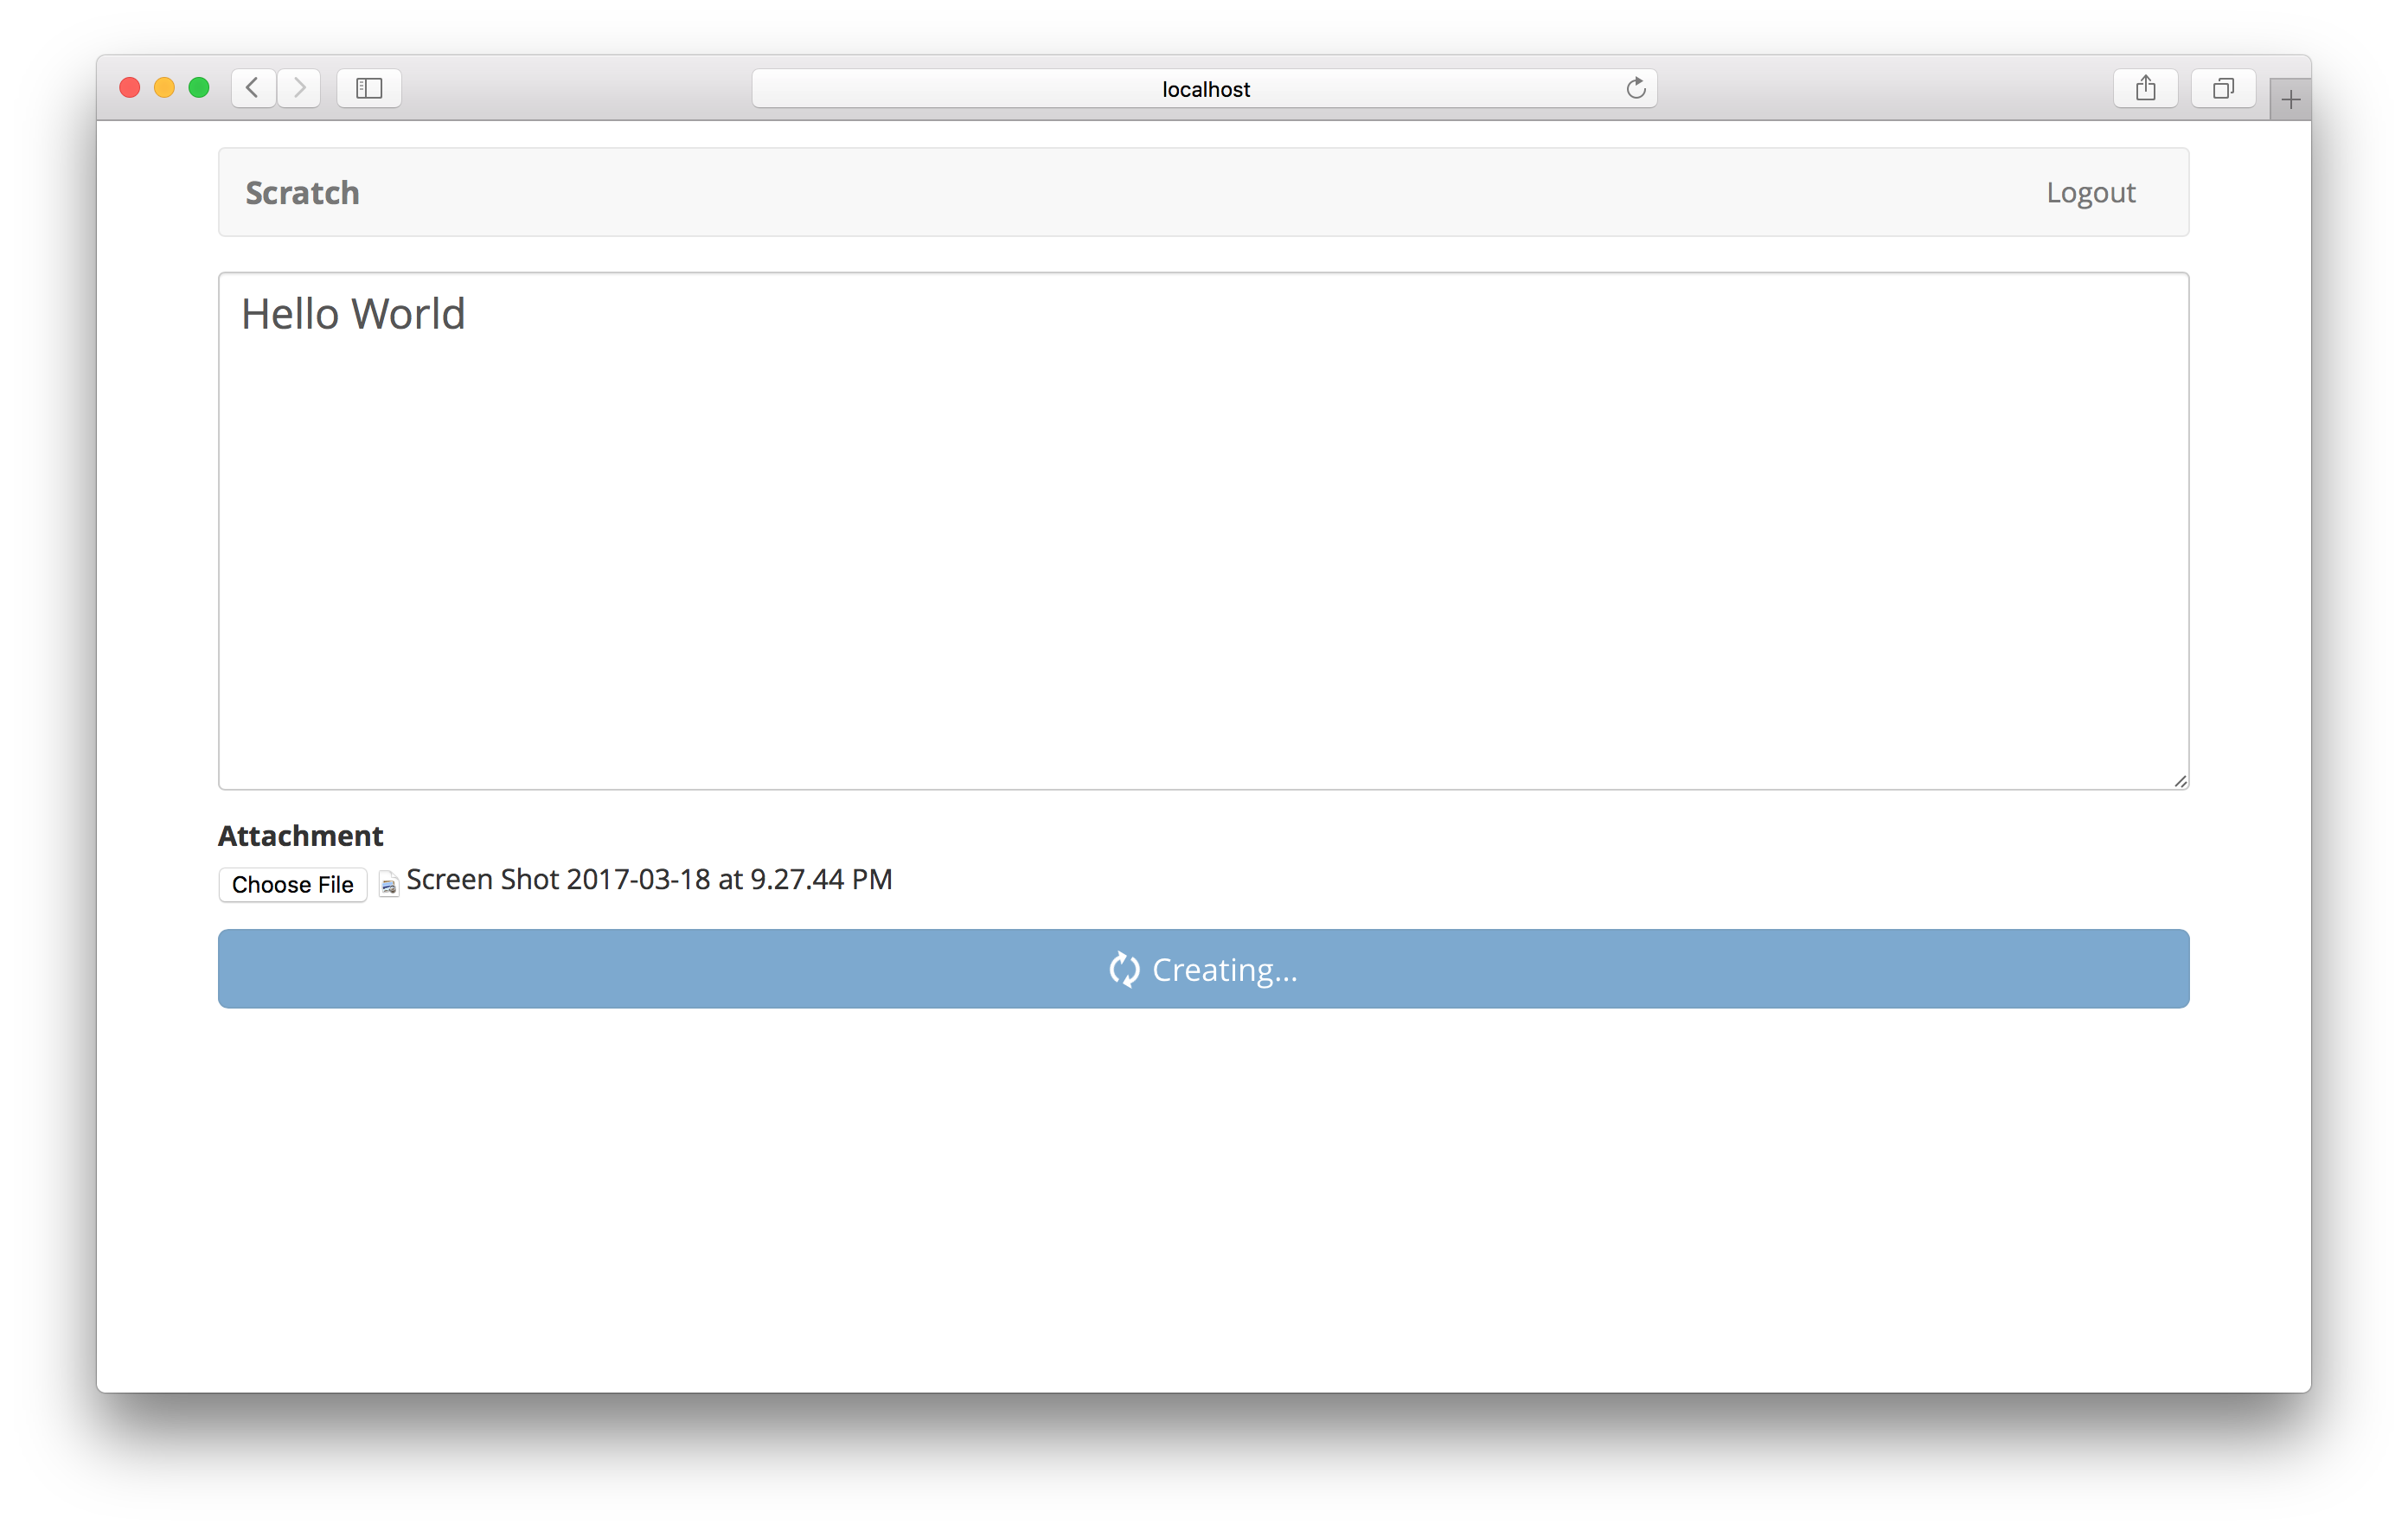
이제 브라우저로 이동하여 http://localhost:3000/notes/new를 탐색하면 새로 생성 된 양식을 볼 수 있습니다. 콘텐츠를 추가하고, 파일을 업로드하고, 내용을 확인 후 전송 버튼을 눌러보십시오.

이제 여기에 API를 연결하겠습니다.
For help and discussion
Comments on this chapterIf you liked this post, please subscribe to our newsletter, give us a star on GitHub, and follow us on Twitter.
