Use the Redirect Routes
This article is a part of a guide to building full-stack apps with Serverless and React.
지난 챕터에서AuthenticatedRoute 와 UnauthenticatedRoute을 만들었으니, 우리가 원하는 컨테이너에서 사용하도록합시다.
 먼저
먼저 src/Routes.js의 헤더에 앞서 만든 컴포넌트를 import합니다.
import AuthenticatedRoute from "./components/AuthenticatedRoute";
import UnauthenticatedRoute from "./components/UnauthenticatedRoute";
다음으로 새로운 리디렉션 경로로 전환하면됩니다.
그래서 src/Routes.js의 다음 경로들이 영향을 받습니다.
<AppliedRoute path="/login" exact component={Login} props={childProps} />
<AppliedRoute path="/signup" exact component={Signup} props={childProps} />
<AppliedRoute path="/notes/new" exact component={NewNote} props={childProps} />
<AppliedRoute path="/notes/:id" exact component={Notes} props={childProps} />
 위 컴포넌트들 대신 다음과 같이 바뀌어야 합니다:
<UnauthenticatedRoute path="/login" exact component={Login} props={childProps} />
<UnauthenticatedRoute path="/signup" exact component={Signup} props={childProps} />
<AuthenticatedRoute path="/notes/new" exact component={NewNote} props={childProps} />
<AuthenticatedRoute path="/notes/:id" exact component={Notes} props={childProps} />
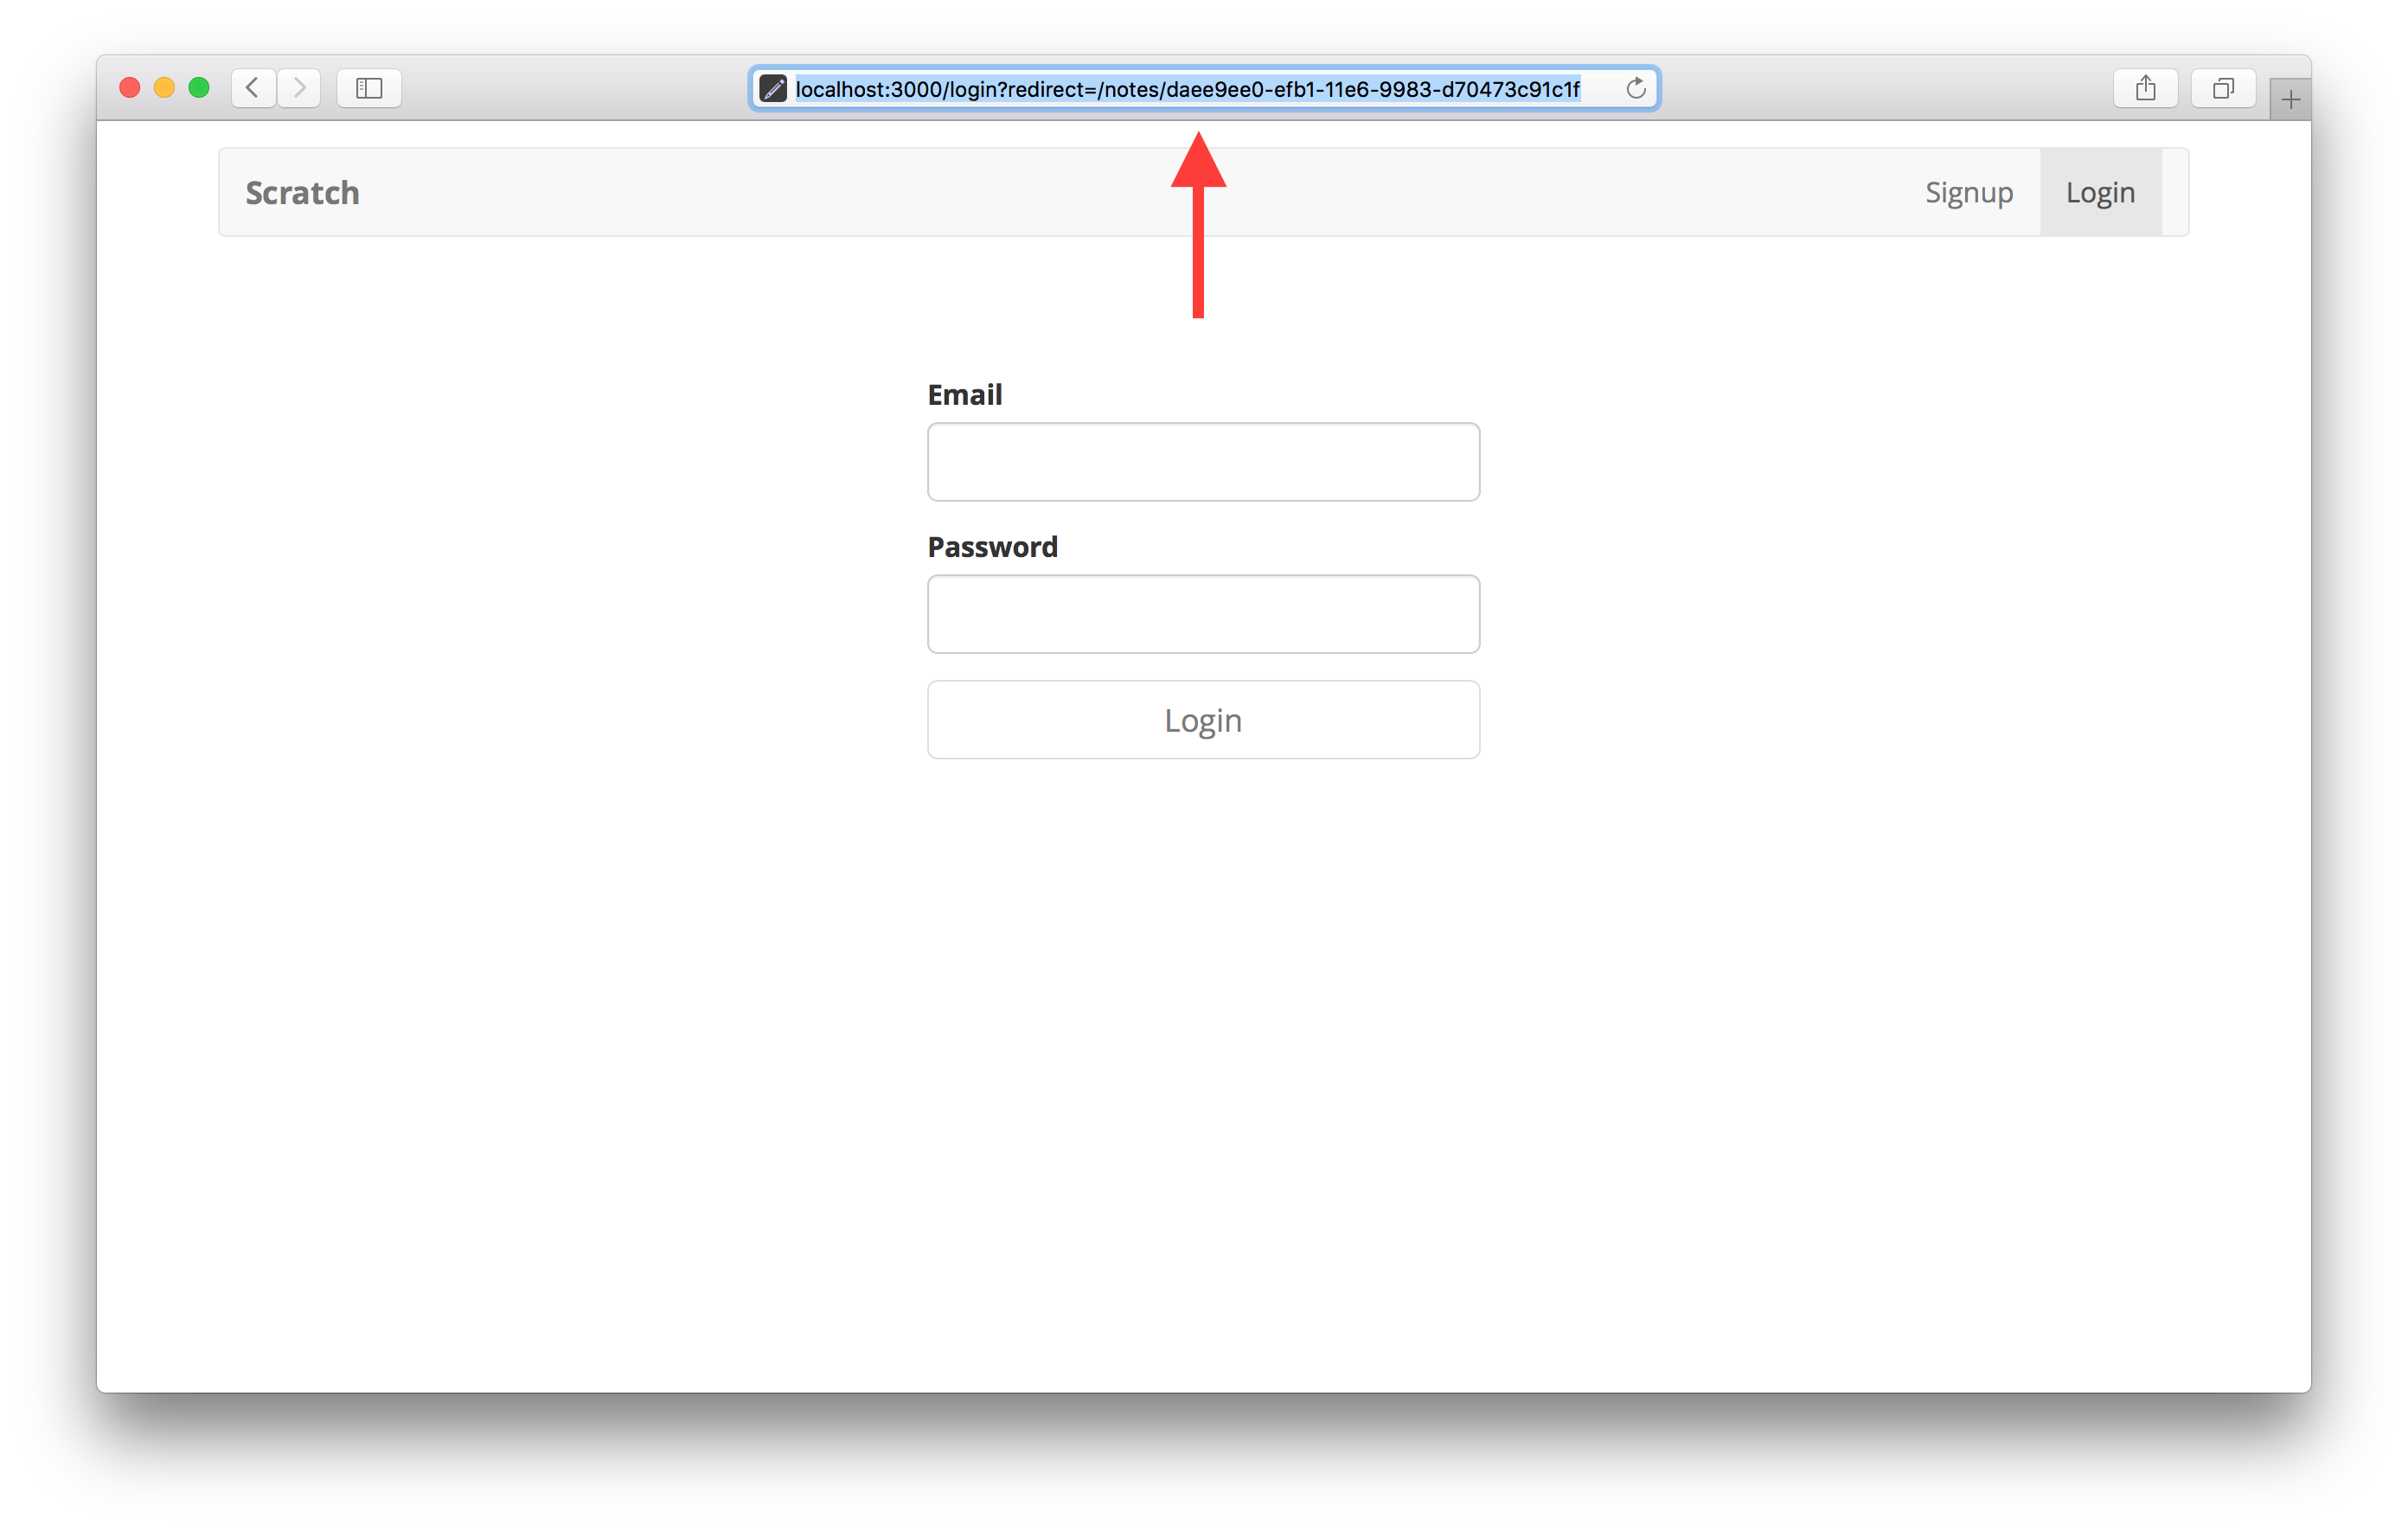
로그인하지 않은 상태에서 노트 페이지를 로드하려고 하면 노트 페이지를 참조하여 로그인 페이지로 리디렉션됩니다.

다음으로, 우리는 로그인 후 바로 노트 페이지로 리디렉션하는 참조를 사용해 보겠습니다.
For help and discussion
Comments on this chapterIf you liked this post, please subscribe to our newsletter, give us a star on GitHub, and follow us on Twitter.
